

Few things cause as much frustration as watching a framing crew knock down walls when you aren't entirely sure the new floor plan will work. Committing to a major remodel without seeing the final spatial layout often leads to expensive mistakes—misplaced electrical outlets, cramped kitchen islands, and doorways that block natural light.
Historically, getting a realistic view of your future home meant either spending months learning complex CAD drafting software or paying over $10,000 in architectural rendering fees.
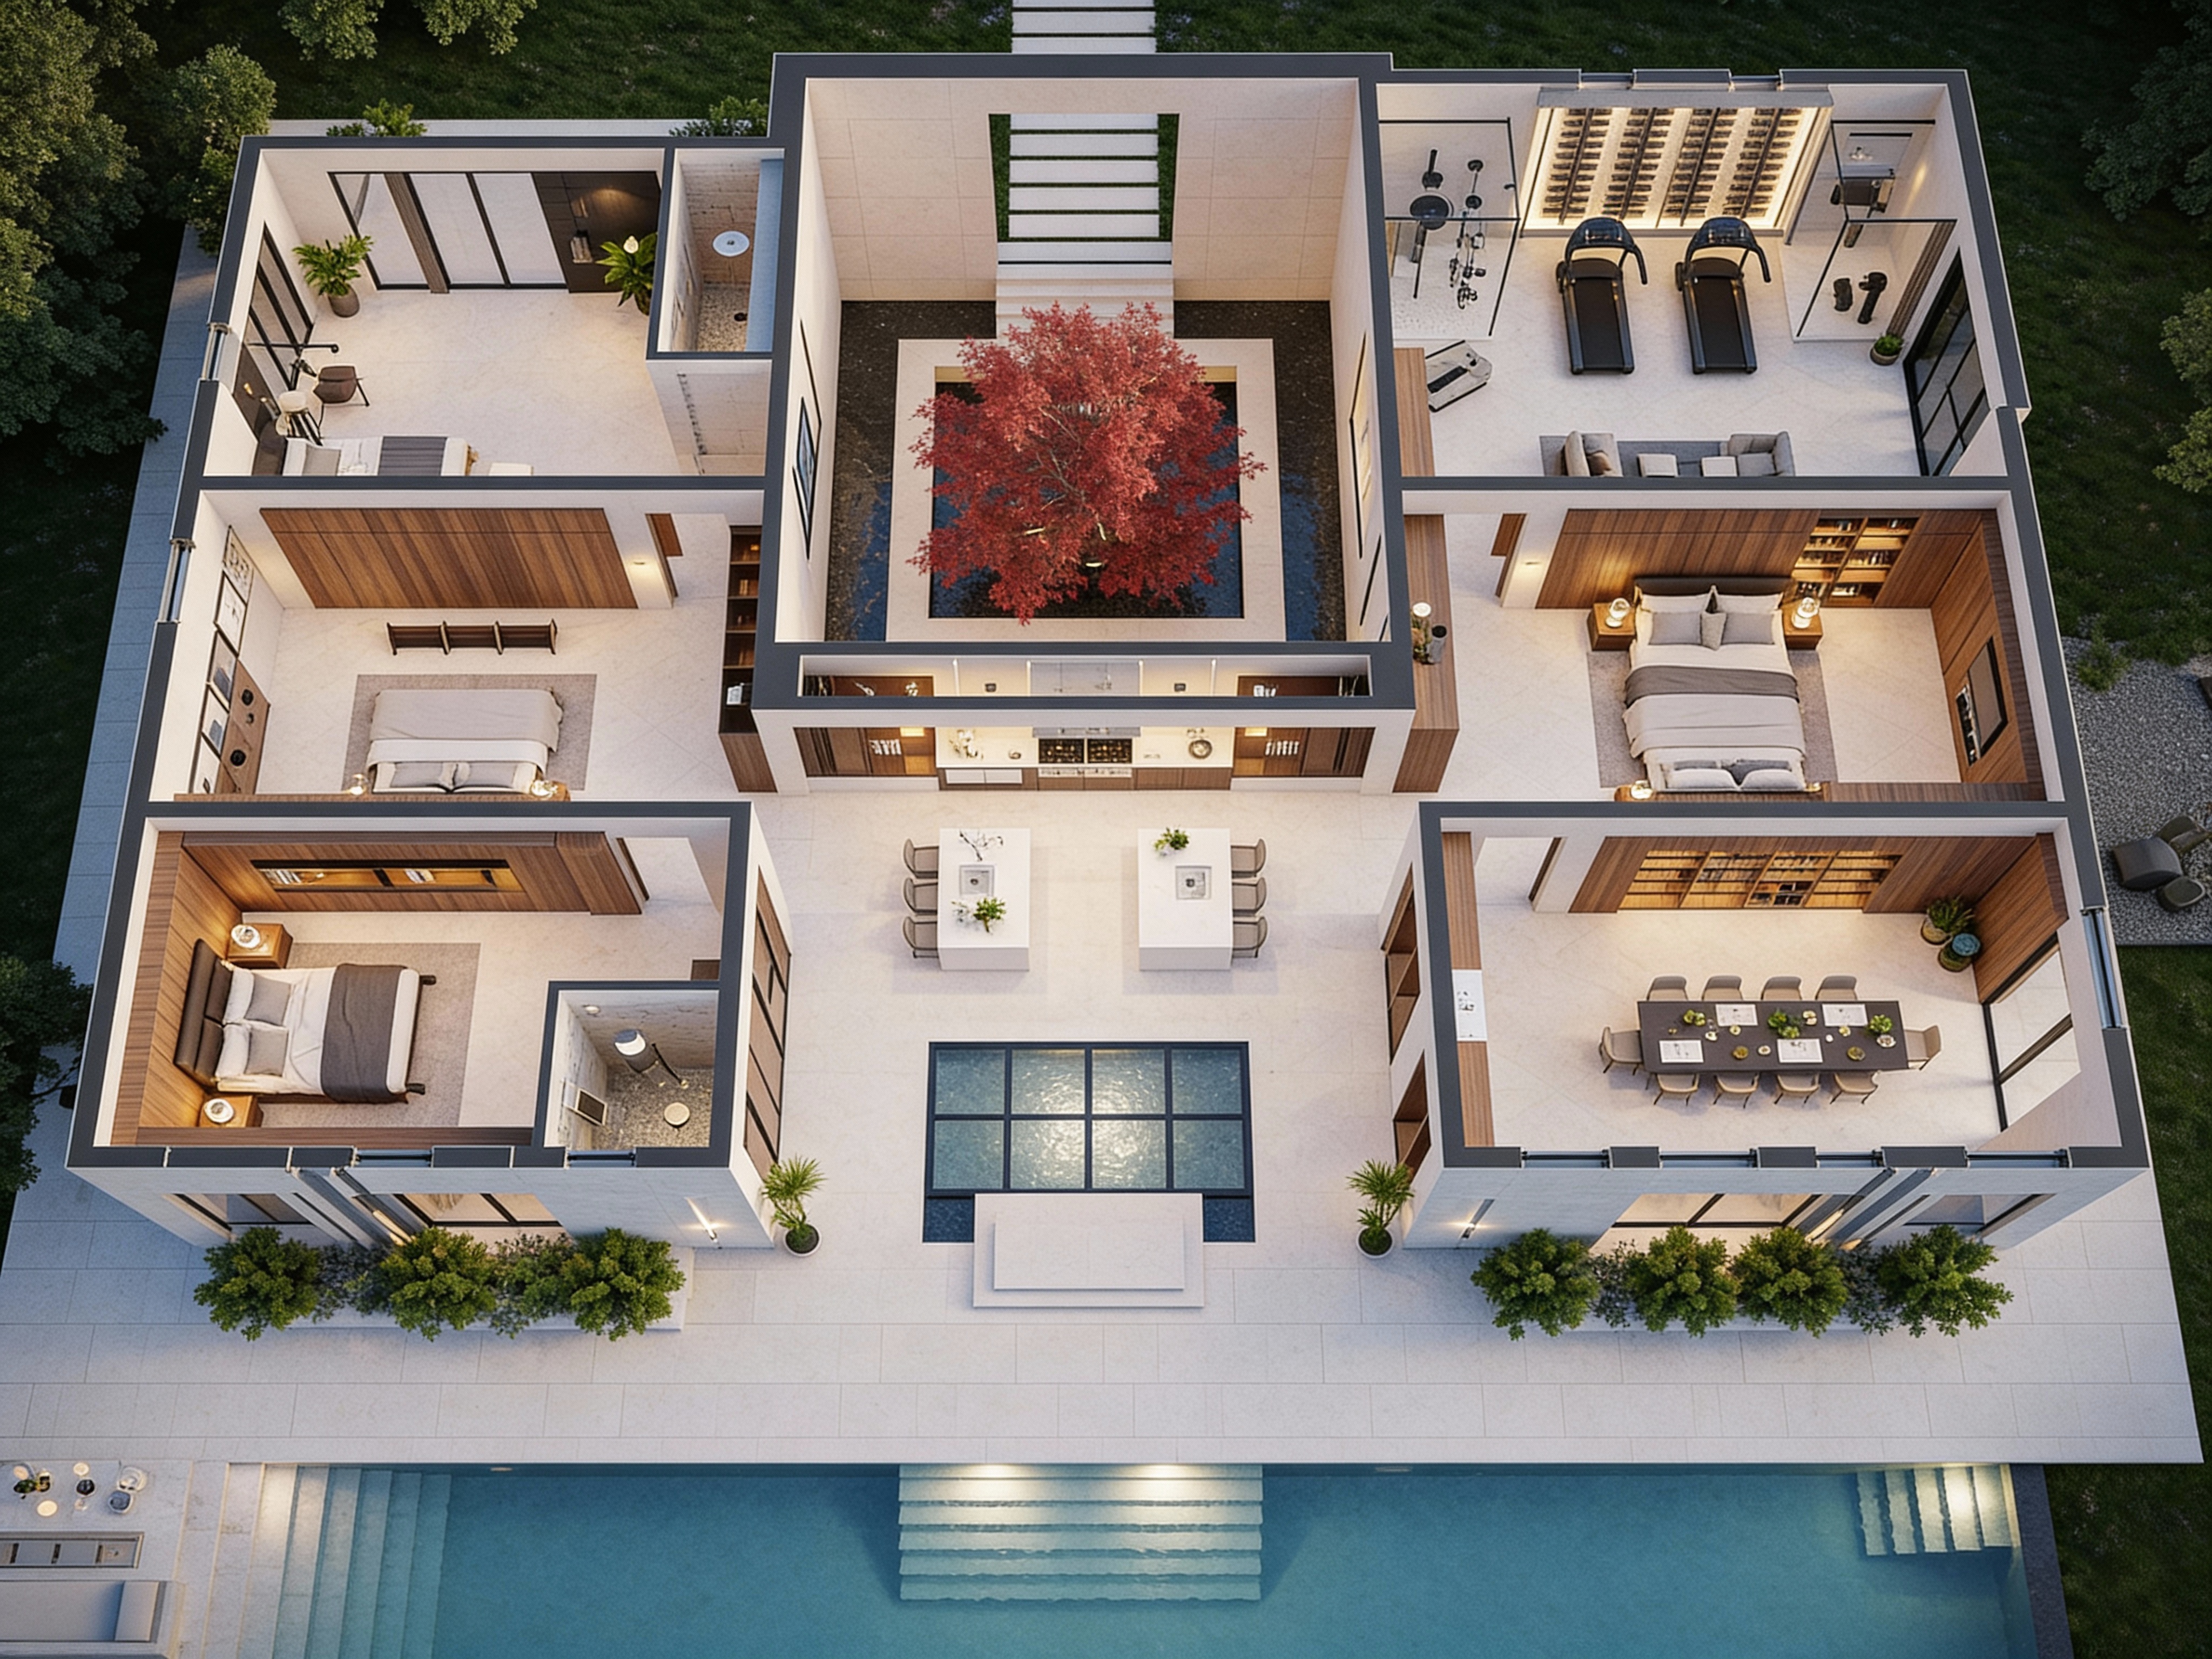
Today, design technology eliminates that financial barrier. Using DesignHome Synthesis™, you can transform a simple mobile photo or two-dimensional sketch into a complete, interactive 3D model. By rendering your exact interior boundaries before construction begins, you gain total peace of mind, reviewing foot traffic paths, furniture scale, and material finishes from every angle.
Start With the House You Have Now
Attempting to plan a remodel using stock online blueprints creates an immediate disconnect. A layout that looks spacious in an ideal architectural drawing can fail when applied to your home's existing load-bearing walls, ceiling heights, and window placements.
Here’s the reality: effective spatial planning requires starting with your current physical footprint.
When mapping out a baseline for your visualize existing home renovation project, capture these physical parameters:
- Exact Wall-to-Wall Dimensions: Measure clear room spans, ceiling heights, and hallway widths rather than relying on historical tax records.
- Window and Door Swings: Mark the precise locations of windows, structural door frames, and built-in entryways.
- Plumbing and HVAC Stacks: Note fixed utility locations, such as main drain lines and chimney breasts, to avoid unnecessary relocation costs.
Establishing an accurate digital foundation ensures every layout modification you test reflects real-world building conditions.
Decide What You Want to Change
Without a clear renovation scope, design discussions quickly become overwhelming. Applying Hick’s Law—narrowing your choices—prevents decision fatigue and helps allocate your budget toward structural upgrades that deliver the greatest impact on your daily lifestyle.
Think about it this way: divide your renovation goals into three clear tiers before testing new floor plans.
| Renovation Scope Breakdown | Primary Focus Areas | Typical Cost Impact |
|---|---|---|
| Surface Refresh | Paint palettes, cabinet hardware, light fixtures, wall trims | Low to Moderate |
| Spatial Optimization | Built-in storage, kitchen islands, vanity reconfigurations | Moderate to High |
| Structural Reconfiguration | Wall removal, window additions, open-concept floor plans | High to Premium |
Targeting specific functional bottlenecks first helps streamline your design process before you test new home renovation ideas in 3D.

Create Different Renovation Options
Settling on the first floor plan idea you sketch often means missing out on more efficient layout opportunities. Exploring multiple design configurations allows you to evaluate trade-offs between open space, privacy, and storage capacity.
And it gets better: testing digital variations costs nothing.
When generating alternative renovation design ideas, evaluate these distinct layouts:
- Open-Plan vs. Zoned Living: Compare a fully open kitchen-living area against a semi-private layout using glass partitions or half-walls.
- Galley vs. L-Shape Kitchens: Test how adding an island changes cabinet storage space and cooking clearance.
- Ensuite Expansion Options: See whether borrowing 20 square feet from an adjacent closet creates enough room for a double vanity and walk-in shower.
Generating alternative configurations gives you the clarity needed to choose the layout that best supports how your household actually lives.
Compare Layouts Before Making Changes
Evaluating room arrangements on a flat paper plan fails to convey how a space will feel once built. A kitchen clearance that looks adequate on paper might feel cramped when two people prepare meals simultaneously.
Look closer: visual flow dictates daily comfort.
| Comparing Layout Evaluation Methods | Traditional 2D Blueprints | Interactive 3D Walkthroughs |
|---|---|---|
| Spatial Perception | Abstract lines and overhead symbols | Realistic depth, ceiling heights, and volume |
| Traffic Flow Testing | Static measurements | Live virtual movement through entryways |
| Lighting Evaluation | Estimated window locations | Simulated natural daylight across different hours |
| Layout Revisions | Manual drafting changes | Instant wall, door, and furniture repositioning |
Using software to compare renovation designs helps verify that walking clearances meet ergonomic standards before framing contractors begin work.
Preview Colors, Materials, and Finishes
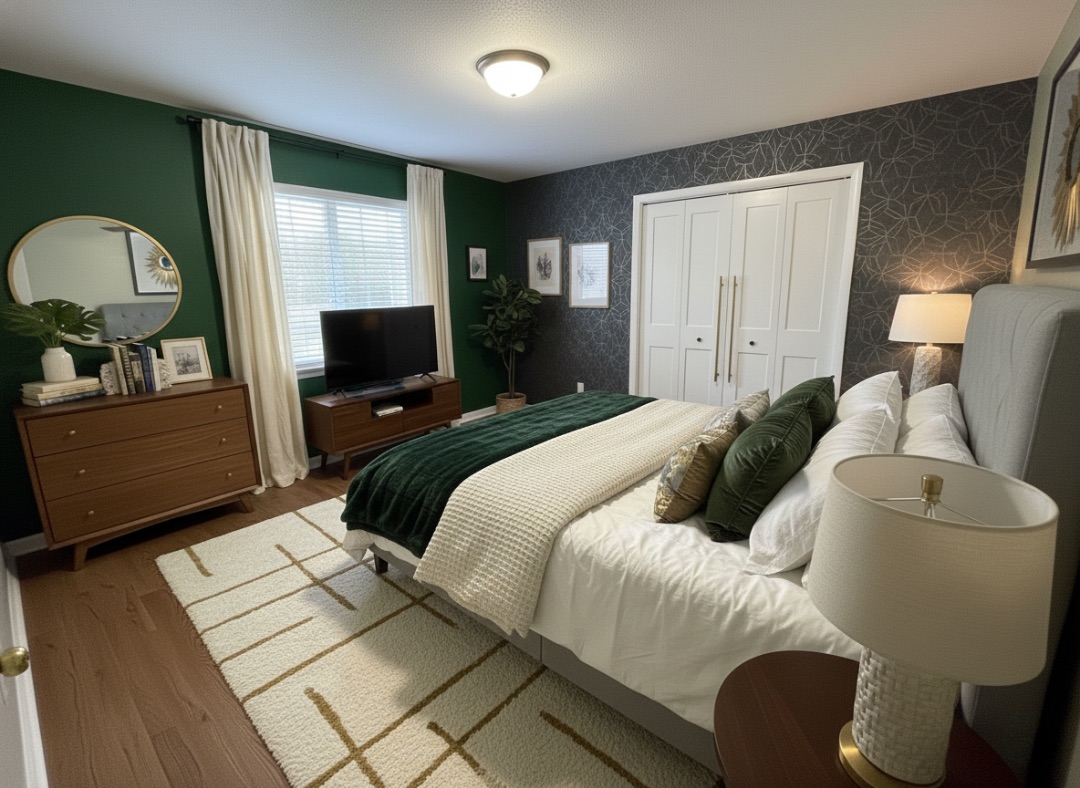
Selecting paint swatches, stone tiles, and cabinet finishes under harsh hardware store lighting often leads to disappointment once materials are installed at home. Surface textures reflect natural light differently depending on room orientation and window placement.
The truth is simple: materials must be evaluated within their intended environment.
Ways to test surface combinations in 3D:
- Evaluate Light Reflection: See how dark charcoal kitchen cabinets interact with morning sunlight versus evening ambient lighting.
- Test Flooring Transitions: Preview how warm oak hardwood in the living room meets large-format porcelain tile in the entryway.
- Check Cabinet and Countertop Contrast: Pair quartz countertop slabs with various backsplash textures to find the right visual balance.
Deciding to order custom material sample kits alongside your digital 3D model ensures tactile textures match your visual expectations.
See How Furniture Changes the Room
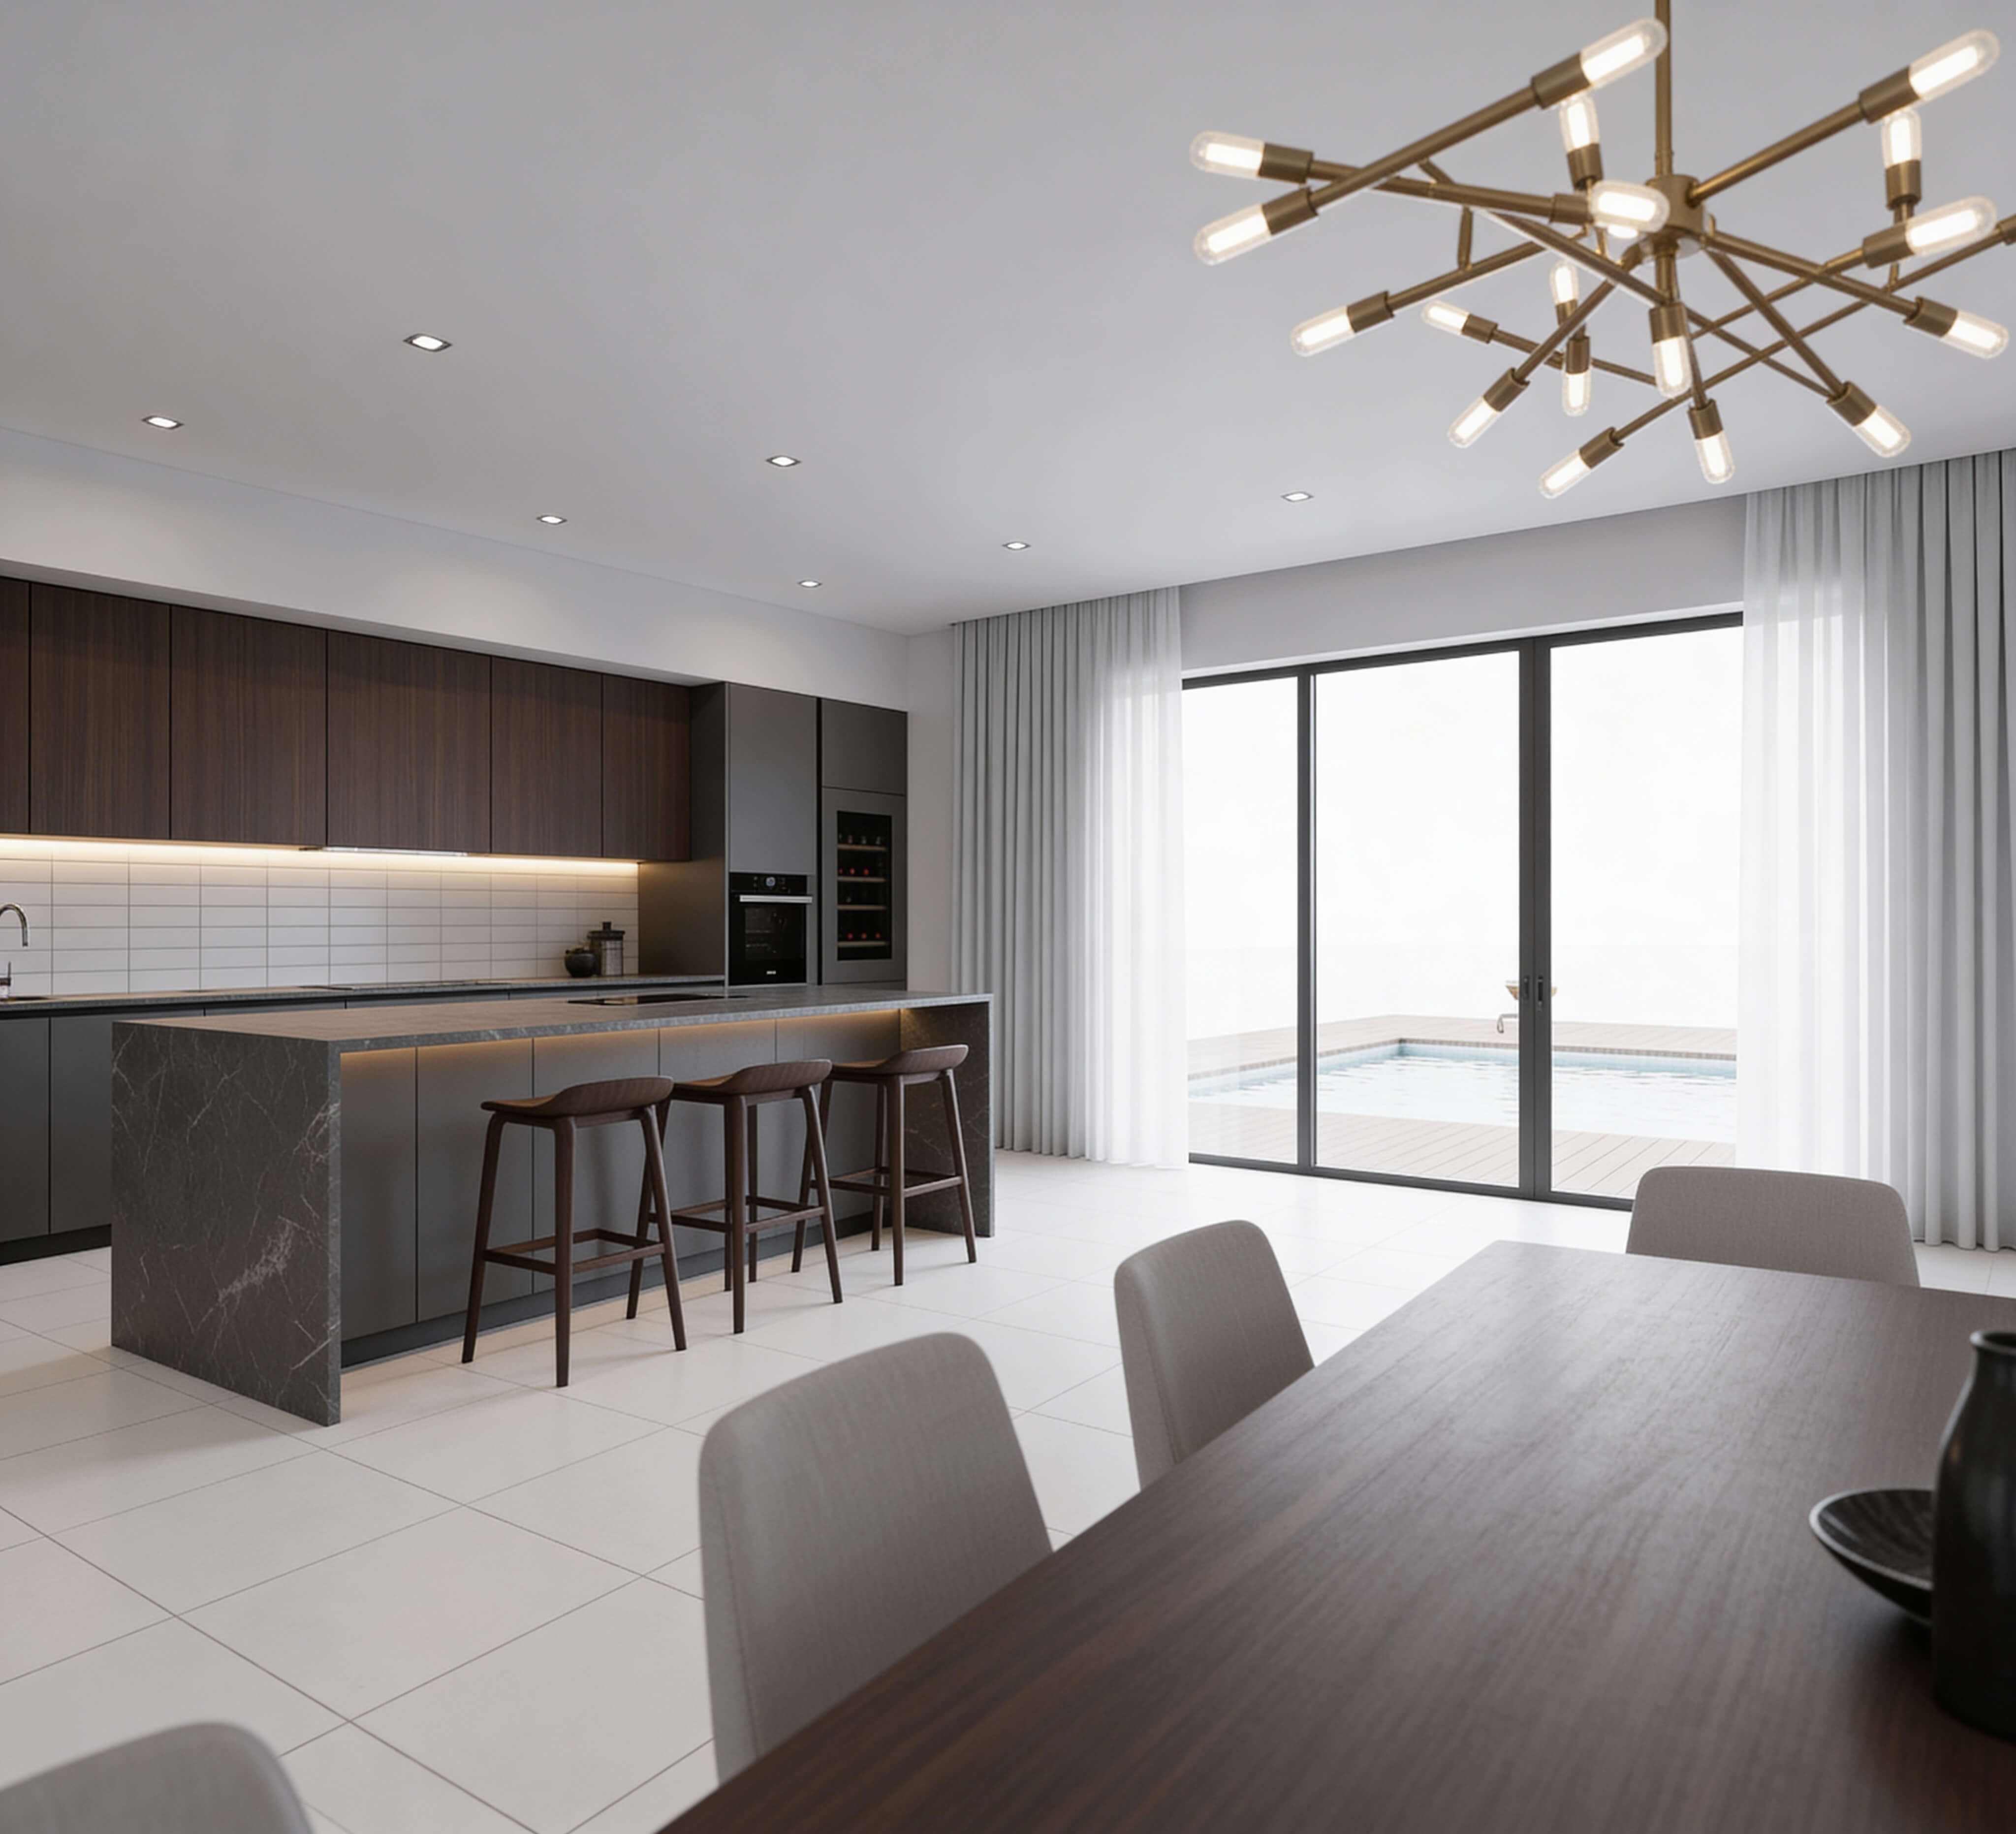
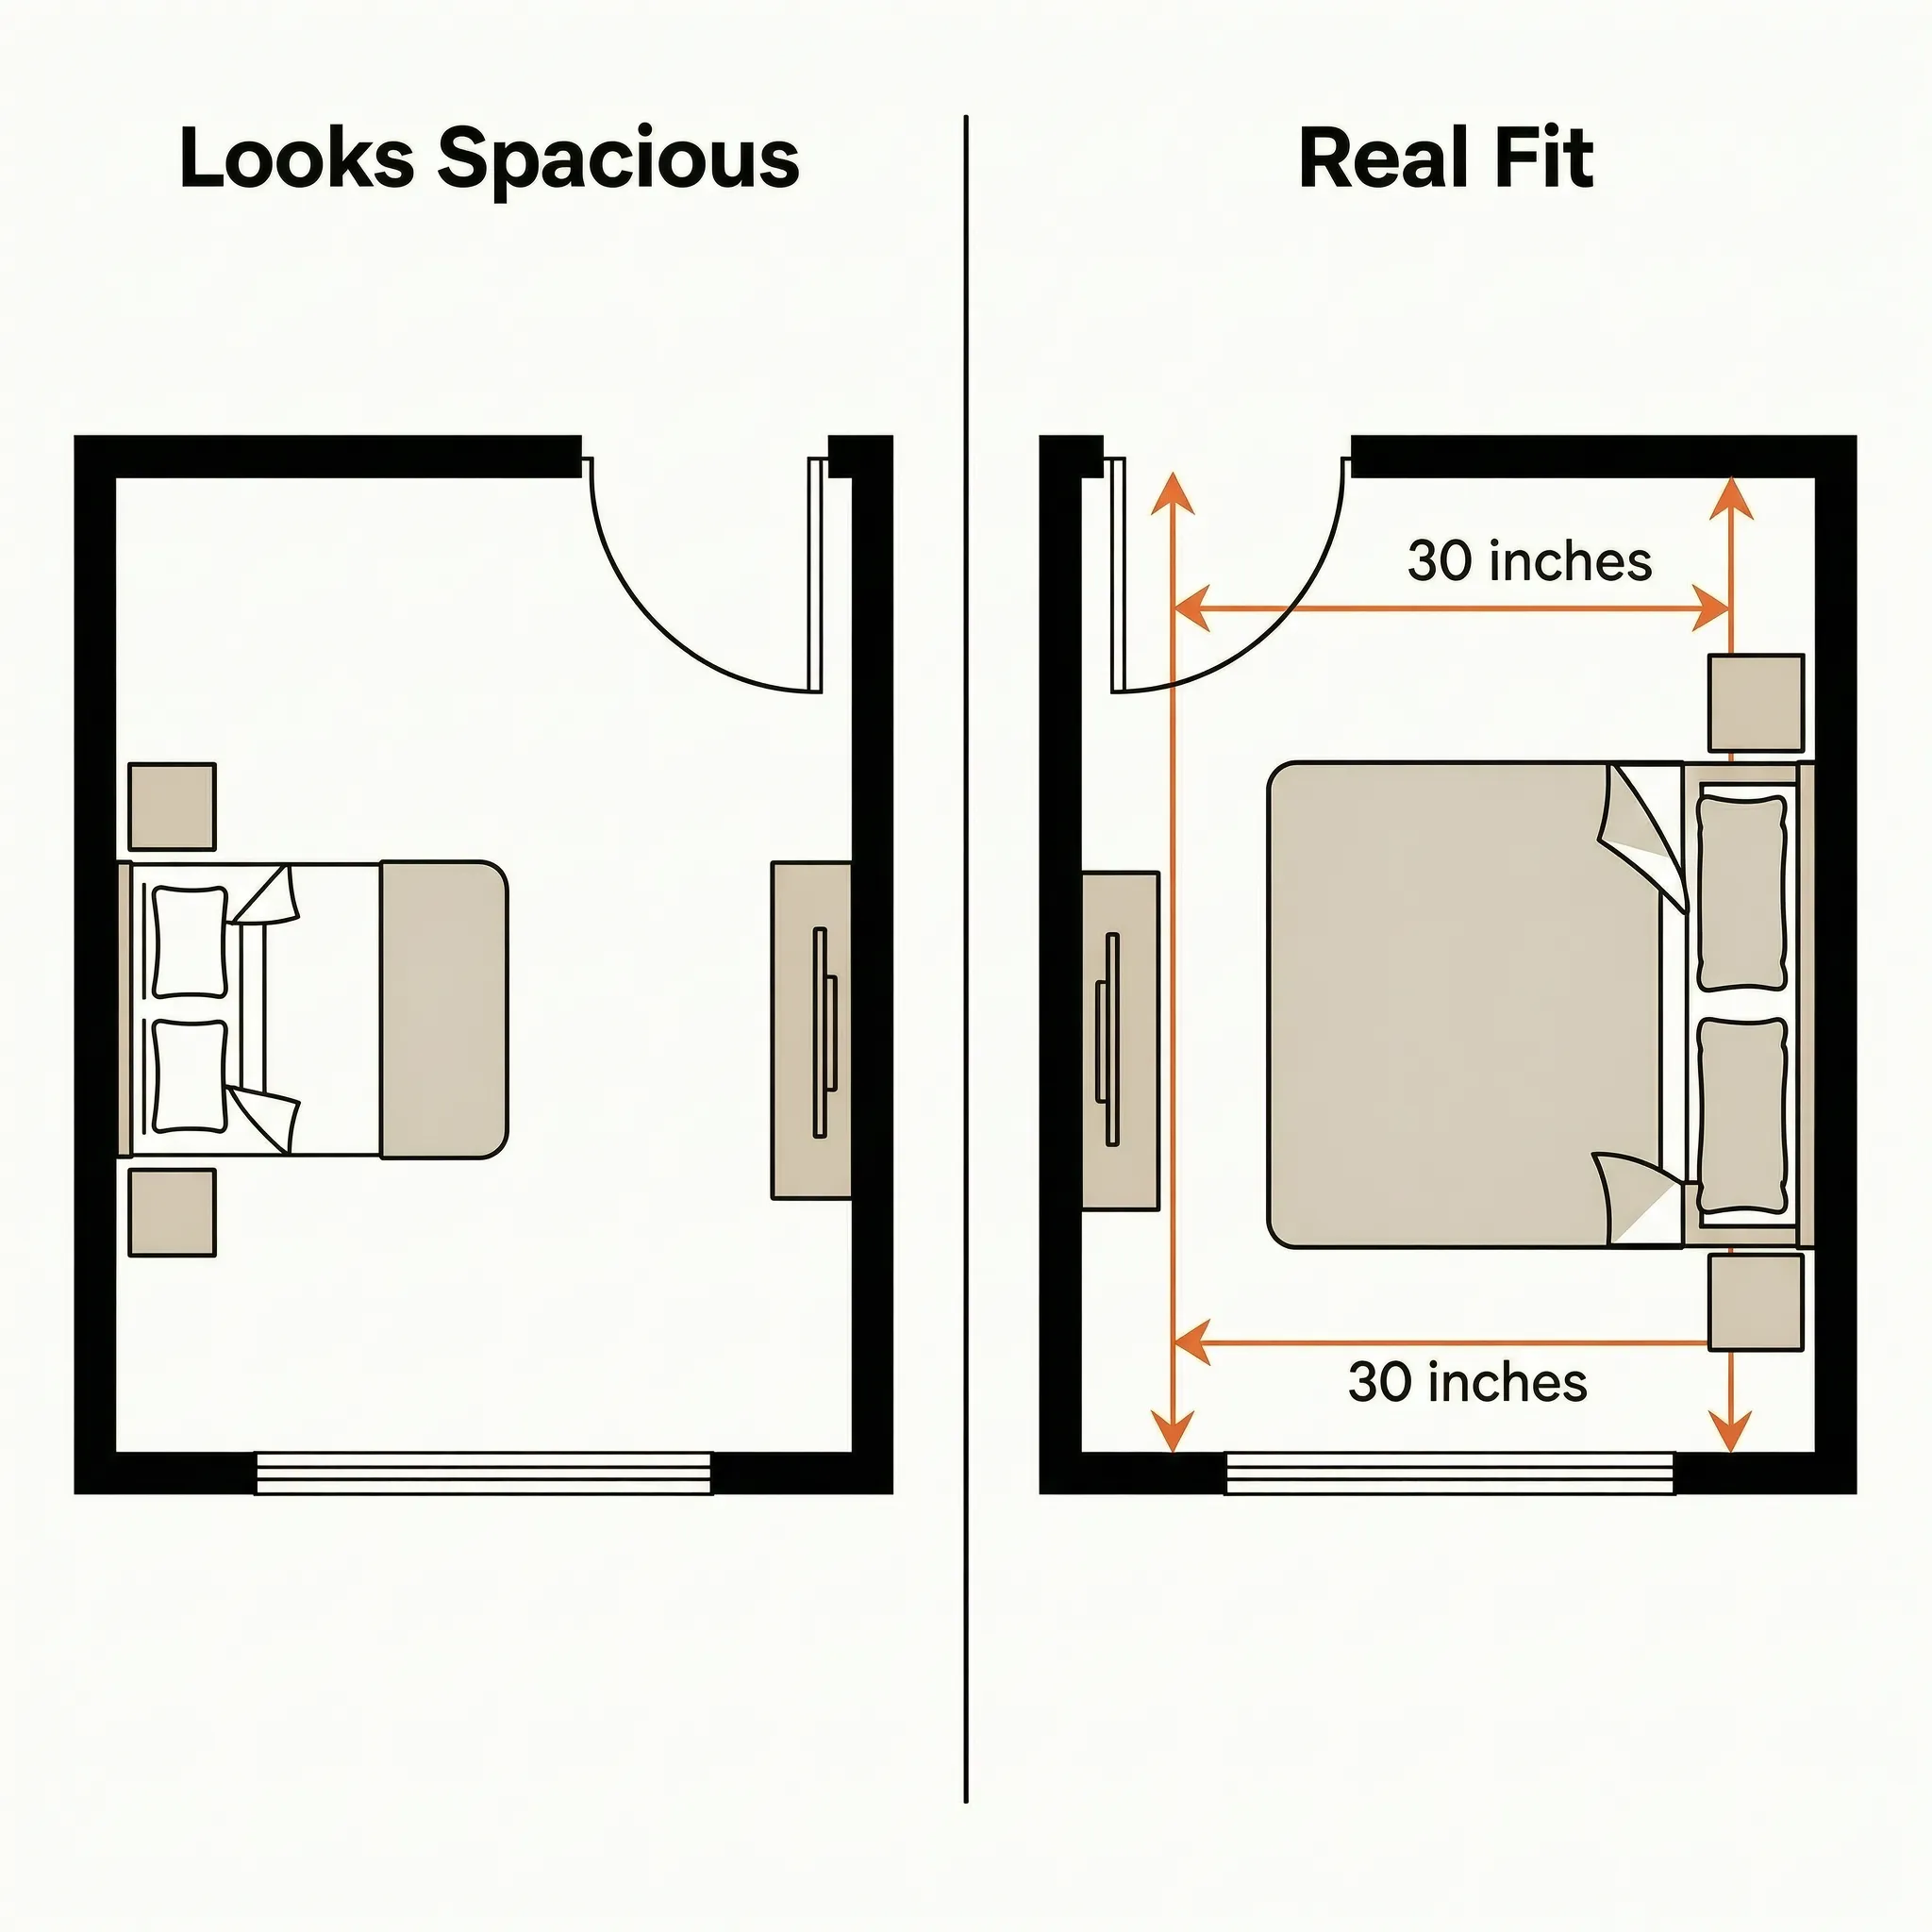
A common renovation mistake is designing room dimensions without accounting for real-world furniture scale. Placing an oversized sectional or an 8-person dining table in a newly expanded room can block doorways and disrupt natural walking paths.
Key clearances for comfortable room navigation:
- Primary Walkways: Maintain a minimum clear path of 36 inches between major furniture pieces and walls.
- Seating Clearance: Allow 18 to 24 inches between sofa edges and coffee tables for comfortable legroom.
- Dining Circulation: Keep 36 to 42 inches of space behind dining chairs so guests can slide out easily without hitting walls.
Using a tool to visualize furniture layout options ensures your new spatial layout easily accommodates your preferred furniture pieces.
Visualize the Exterior Before Renovating
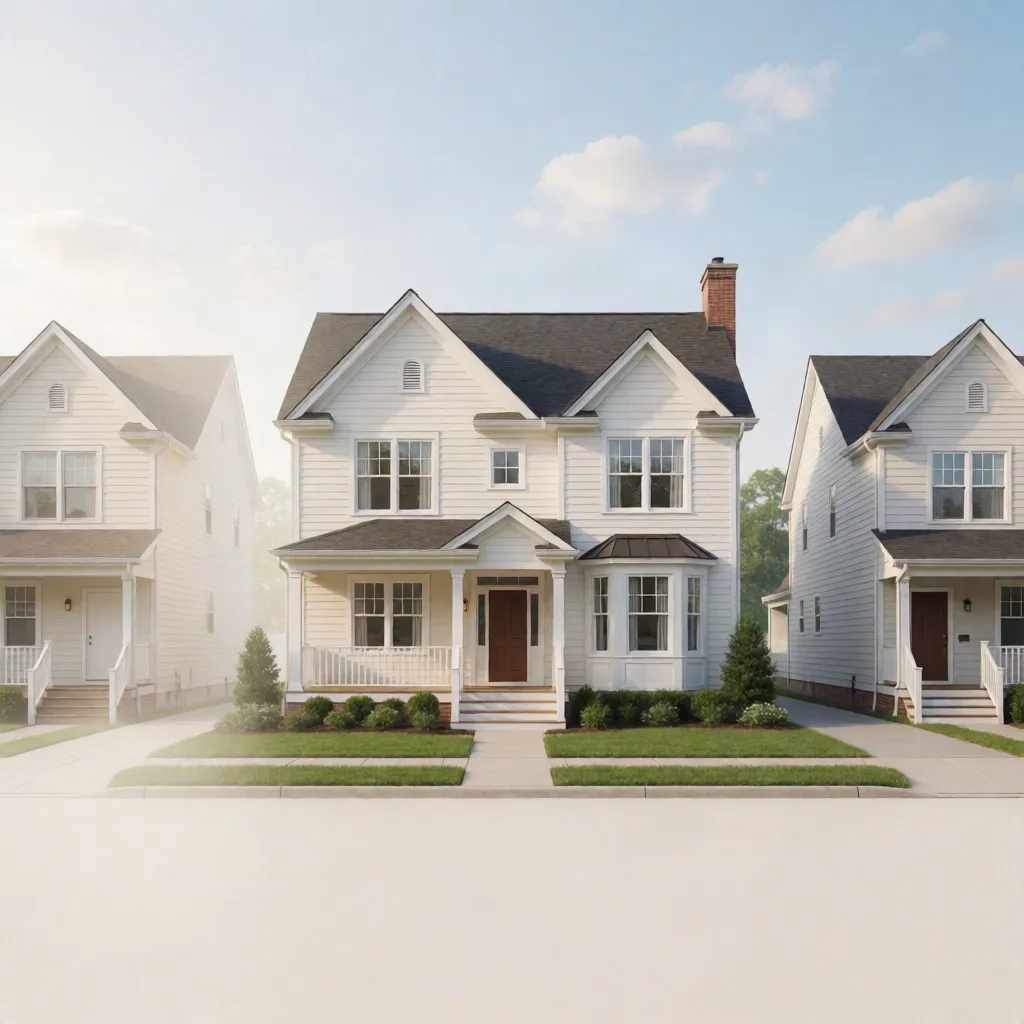
Siding textures, window trims, portico additions, and rooflines work together as a single visual unit. Changing one element without previewing the entire facade can make the front elevation look unbalanced.
Upgrades to preview on your front elevation:
- Entrance Porticos and Canopies: Test gabled or flat-roof overhangs above the front entrance to build architectural depth.
- Window Casing Ratios: Compare thin 2-inch window trims against wide 6-inch architectural frames.
- Cladding Combinations: Combine smooth light render with dark vertical timber battens or natural stone veneer bases.
Choosing to buy custom entry doors online after previewing them on your rendered facade guarantees an attractive, cohesive entrance.
Compare Before-and-After Renovation Ideas
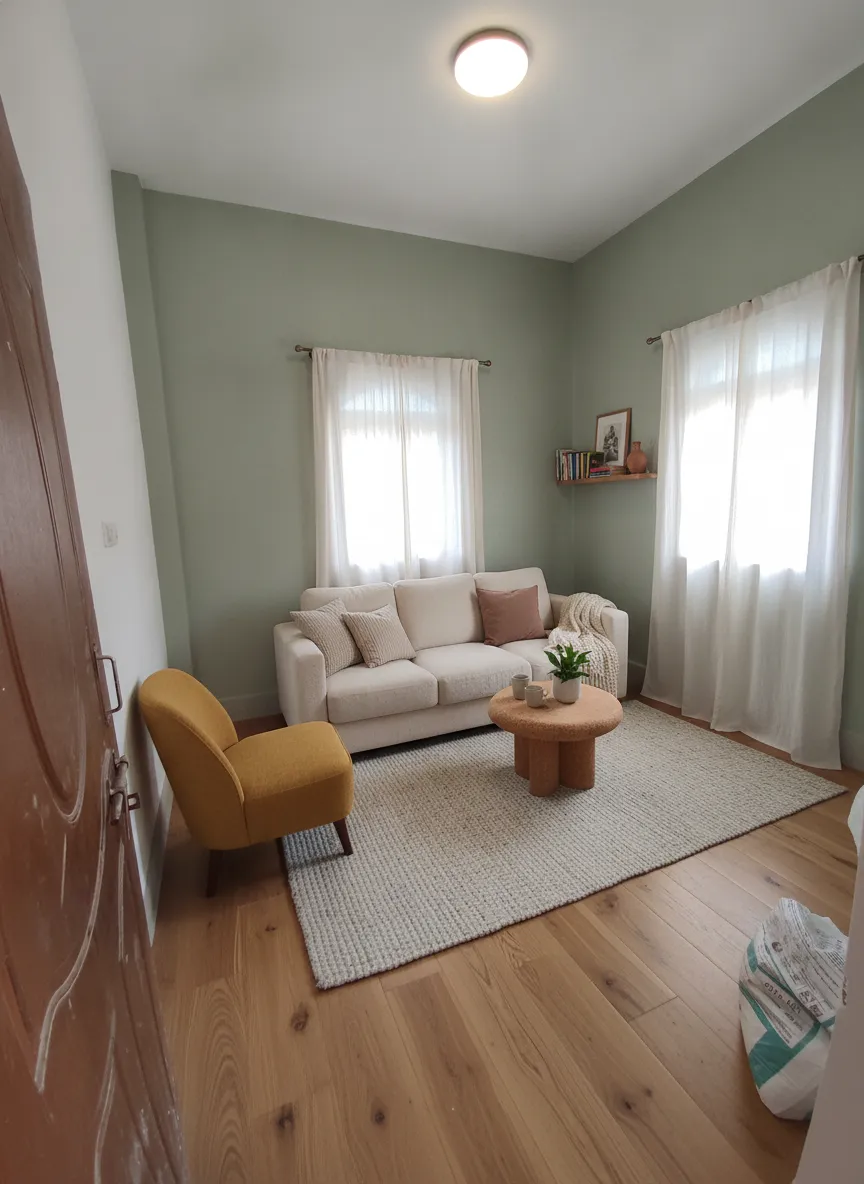
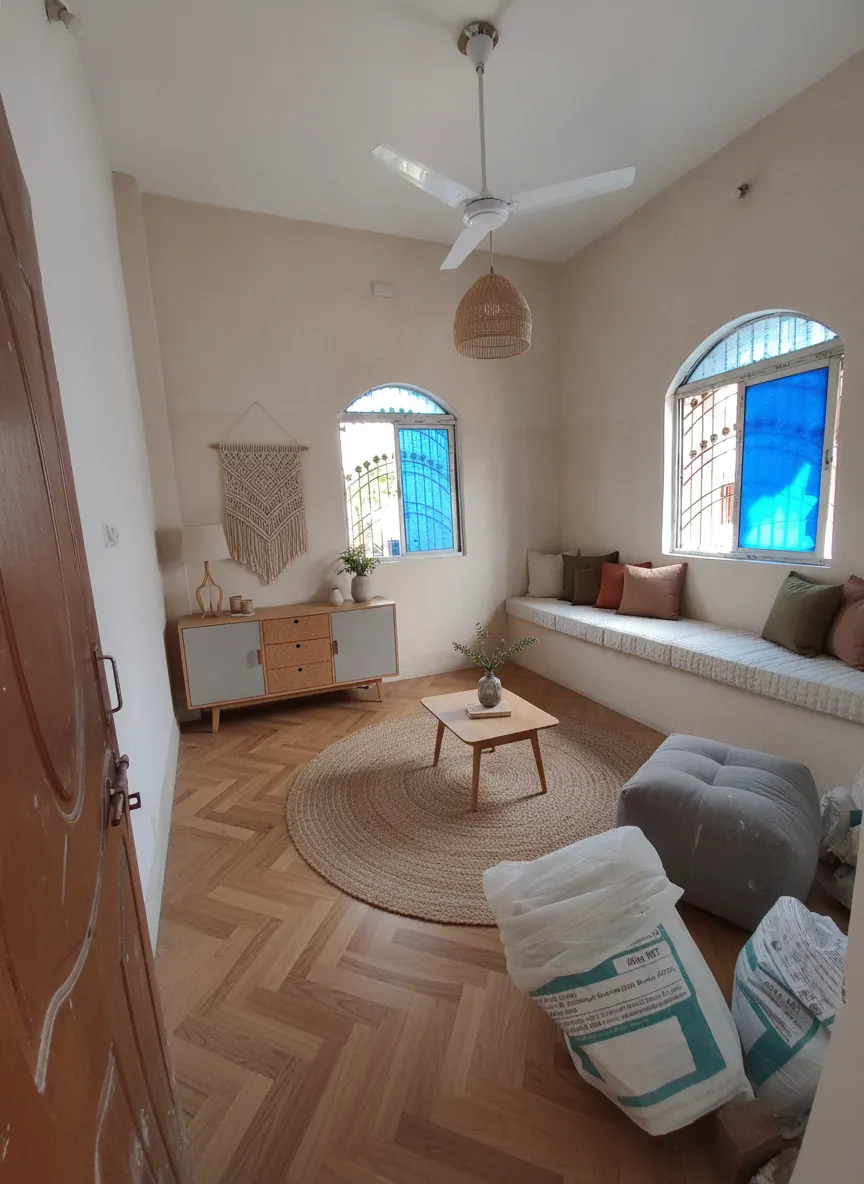
Seeing a direct, side-by-side comparison between your current floor plan and proposed designs validates whether a project offers sufficient functional improvement to justify the construction investment.
Benefits of side-by-side visual comparisons:
- Quantify Functional Gains: Verify how much usable counter space, natural light, or storage capacity the new layout adds.
- Align Household Expectations: Help family members agree on layout decisions by showing them exact visual outcomes.
- Streamline Contractor Quotes: Provide trade teams with clear visual references alongside technical floor plans to obtain more accurate bid pricing.
Evaluating a renovation before and after visualization protects your budget by keeping your focus on high-impact upgrades.
Check the Design Before Spending Money
Reworking wall framing, moving plumbing stacks, or returning custom cabinetry mid-construction can add thousands to your overall budget. Catching layout issues during the planning phase keeps your project on schedule and on budget.
Preventable construction mistakes caught during 3D visualization:
- Inconvenient Door Swings: Identifying bedroom or bathroom doors that collide with vanities or closets.
- Blocked Window Sightlines: Noticing when tall kitchen upper cabinets cut across window glass openings.
- Inadequate Lighting Placement: Spotting dim corners in deep open-plan living areas before electrical rough-ins are installed.
Utilizing a renovation cost calculator alongside early 3D spatial planning keeps material choices aligned with your financial targets.
Use a Home Renovation Visualizer to Test Ideas
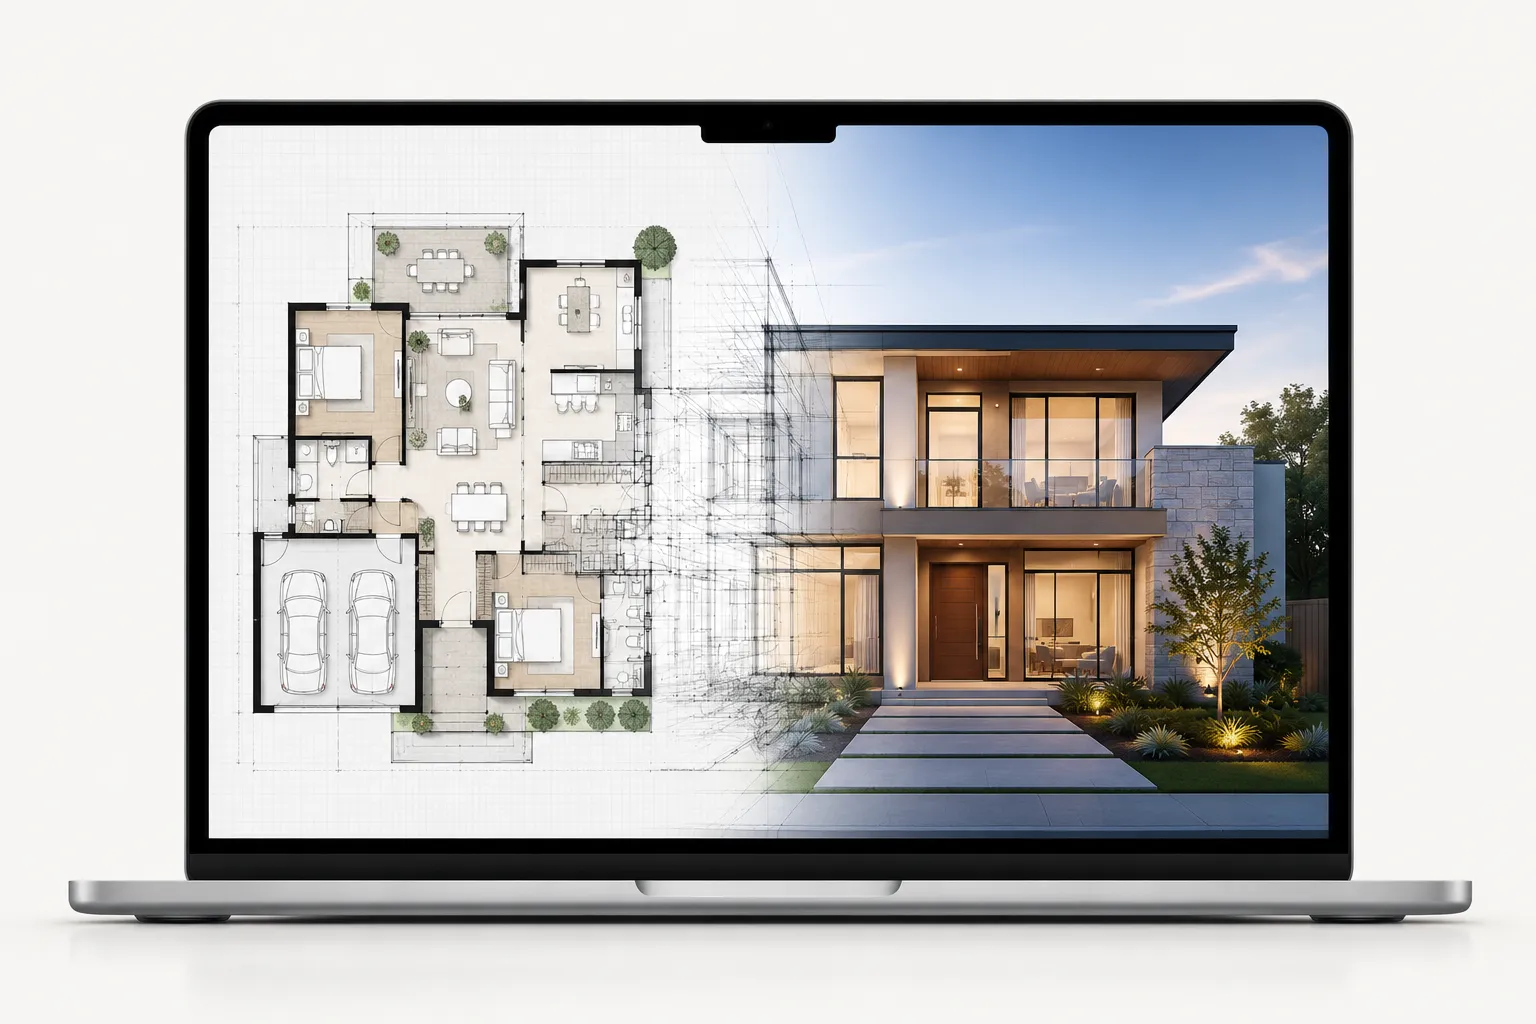
You no longer need advanced drafting skills or expensive design retainers to create high-resolution 3D home walkthroughs.
With DesignHome Synthesis™, bringing your renovation vision to life requires zero technical background. Simply upload a mobile photo of your existing room or a basic 2D floor plan layout into our intelligence system. The software automatically constructs a scaled 3D model, allowing you to walk through interior spaces, move walls, swap finishes, and evaluate traffic flow in real time.
Having all your layout, material, and spatial testing tools in a single platform eliminates the stress of guesswork, letting you refine your home elevation with total confidence.
Choose Your Renovation Direction With Confidence
Visualizing your project before breaking ground turns an overwhelming construction process into a clear, enjoyable transformation. When you can see every corner, walkway, and material finish in advance, you make design decisions with total certainty.
Your pre-renovation action plan:
- Document Your Current Space: Take accurate room measurements and photograph existing floor plan boundaries.
- Define Your Scope: Decide whether your project requires surface updates or full structural reconfigurations.
- Build Your 3D Model: Upload your floor plan into a home renovation visualizer to generate an interactive spatial rendering.
- Test Traffic Clearances: Place scaled furniture models into the layout to verify comfortable walking paths.
- Finalize Materials and Lighting: Test paint finishes, cabinet finishes, and lighting fixtures under simulated daytime and evening conditions.
- Hand Off Clear Plans: Provide your contractor with validated 3D visuals and dimensional floor plans to ensure seamless construction execution.
Taking the time to model your project first gives you complete peace of mind, ensuring your completed home delivers lasting comfort, beauty, and practical value.

Frequently Asked Questions: Visualizing a Renovation Before Starting
Why is it so crucial to visualize a renovation in 3D before knocking down walls or buying materials?
Committing to a major remodel without seeing the final spatial layout in three dimensions is one of the most expensive risks a homeowner can take. Flat blueprints and 2D floor plans fail to convey real-world volume, ceiling heights, lighting angles, and traffic bottlenecks. By rendering your renovation in 3D beforehand, you catch spatial mistakes—like a kitchen island that blocks the refrigerator door or an awkward doorway swing—while they are still free to fix on a screen, rather than paying thousands in contractor change orders mid-construction.
Can I visualize my renovation using just my current mobile photos or a hand-drawn floor plan sketch?
Yes. You no longer need complex CAD drafting experience or expensive architectural software to create realistic 3D models. Modern layout intelligence platforms like DesignHome Synthesis™ allow you to upload simple mobile photos of your existing rooms or a quick dimensional sketch. The system automatically reads wall boundaries, door frames, and ceiling heights to build a scaled, interactive 3D model that you can walk through and edit instantly.
How does 3D visualization help prevent expensive contractor change orders mid-renovation?
Think about it this way: change orders usually happen because a homeowner sees a frame or finish in person for the first time and realizes it doesn't match what they envisioned. When you supply your contractor with fully rendered 3D visuals alongside traditional floor plans, both parties share the exact same visual target. Tradespeople can quote labor and materials accurately, spot plumbing or electrical conflicts early, and execute the build without costly guesswork or last-minute revisions.
What is the best way to test whether a new furniture layout will make my space feel open or cramped?
Applying spatial hierarchy and ergonomic clearance standards during visual planning keeps your layout comfortable:
- Primary Walkways: Maintain at least 36 inches of clear walking space between major furniture pieces and walls.
- Seating Distance: Keep 18 to 24 inches between sofa edges and coffee tables.
- Dining Clearance: Reserve 36 to 42 inches behind dining chairs so guests can move comfortably.
Placing scaled 3D furniture models into your digital walkthrough lets you virtually test these walking paths long before buying sofa sectionals or dining tables.
Can a 3D renovation visualizer show how natural daylight will shift across my rooms throughout the day?
And it gets better: realistic lighting simulation is one of the biggest advantages of digital planning. Sunlight reflects differently off dark matte cabinets than it does off polished quartz countertops depending on window orientation and time of day. High-resolution visualizers simulate morning east-facing light versus low evening west-facing sun, allowing you to choose window placements, glass sizes, and interior paint sheens with complete confidence.
How do I compare two completely different layout options side-by-side without getting overwhelmed?
Here’s the reality: evaluating too many options at once leads to decision fatigue—a core concept of Hick’s Law. To keep your planning structured, create two distinct digital layout models:
- Option A (Open-Plan): Knock down partition walls to maximize continuous living space and shared light.
- Option B (Zoned Living): Retain partial walls or glass dividers to preserve acoustic privacy and defined storage zones.
Walking through both virtual models side-by-side allows you to compare counter space, traffic flow, and storage capacity directly, making the right choice obvious.
How does visual planning help when selecting paint colors, cabinetry stains, and flooring materials?
Selecting material samples under the harsh overhead fluorescent lighting of a home improvement store rarely reflects how those finishes look inside your actual home. Visualizing surface finishes inside a digital model lets you test how warm oak flooring transitions into large-format bathroom tiles, or how dark charcoal cabinetry contrasts against alabaster wall paint under simulated 2700K ambient lighting.
What structural changes should I test virtually before consulting a structural engineer?
Look closer: testing spatial concepts virtually saves valuable time before hiring professional engineering services. Use visual planning to test:
- Removing non-load-bearing partition walls between kitchens and dining areas.
- Expanding narrow doorway openings into wide architectural arches.
- Adding or enlarging exterior window openings to bring natural light deeper into dark hallways.
Once you settle on a layout that fits your lifestyle, you can hand clear visual concepts over to a structural engineer to verify load-bearing requirements and header beam sizes.
Can I visualize both interior floor plans and exterior facade upgrades on the same property?
Absolutly. A truly cohesive home renovation links exterior curb appeal seamlessly with interior floor plan flow. You can preview how adding a gabled front porch, widening window trims, or applying vertical timber cladding changes your home's exterior elevation, while simultaneously checking how those new window placements frame views from your interior living room.
How accurate are digital 3D renovation renders compared to the finished construction result?
When built using precise physical measurements, 3D spatial renders provide an incredibly accurate 1:1 preview of room proportions, sightlines, and material relationships. While minor natural variations exist in raw wood grains or stone veining, the spatial geometry, traffic clearances, and lighting distribution in your render will mirror the final completed build almost identically.
Do I need to buy expensive design software or pay architectural retainers just to see my ideas?
No. Historically, seeing high-end 3D renderings required retaining architectural firms for $2,500 to $10,000+ or mastering complex drafting software over hundreds of hours. Web-based design tools have eliminated that hurdle. Today, homeowners can generate high-resolution, walkable 3D room models directly in their web browser within minutes, putting professional-grade design power directly in your hands.


