

You step through your front door after a long workday, look around your entryway, and feel a heavy, subtle frustration settle in.
The dark wood trim feels oppressive, the central ceiling light casts a harsh, yellow glare across the hallway, shoes are piled in an unsightly heap, and the kitchen counters look buried in visual clutter. Your immediate instinct is to panic and assume you need a $100,000 full-scale gut renovation.
Here is the truth: most older homes do not need to be torn apart to feel fresh, open, and effortless.
A house often feels "old" not because its walls are in the wrong place, but because its daily touchpoints—lighting, storage, hardware, and surface finishes—no longer match how modern families live. By targeting high-contact areas, preserving high-value original character, and making smart surface updates, you can modernize an old house without turning your life upside down. Here is the definitive guide to bringing your space into the present day smoothly and intentionally.
1. What Actually Makes a House Feel Outdated?
Before spending a single dollar on paint samples or browsing online stores for new fixtures, you must diagnose why your home feels old.
Homeowners frequently confuse architectural style with functional neglect. A 1920s craftsman or a 1960s mid-century home isn't outdated because of its age—it feels outdated because of dark corners, inefficient storage, worn surfaces, and daily physical friction.
Ask yourself these diagnostic questions:
- Is it a surface issue? Yellowed walls, worn carpet, chipped baseboards, and dated brass handles are simple cosmetic fixes.
- Is it a daily routine issue? Tripping over shoes in the hallway, fighting for bathroom counter space, or cooking in a dark kitchen require smart storage and lighting updates.
- Is it a structural issue? Active plumbing leaks, sagging floor joists, or outdated electrical panels must be resolved before making visual updates.
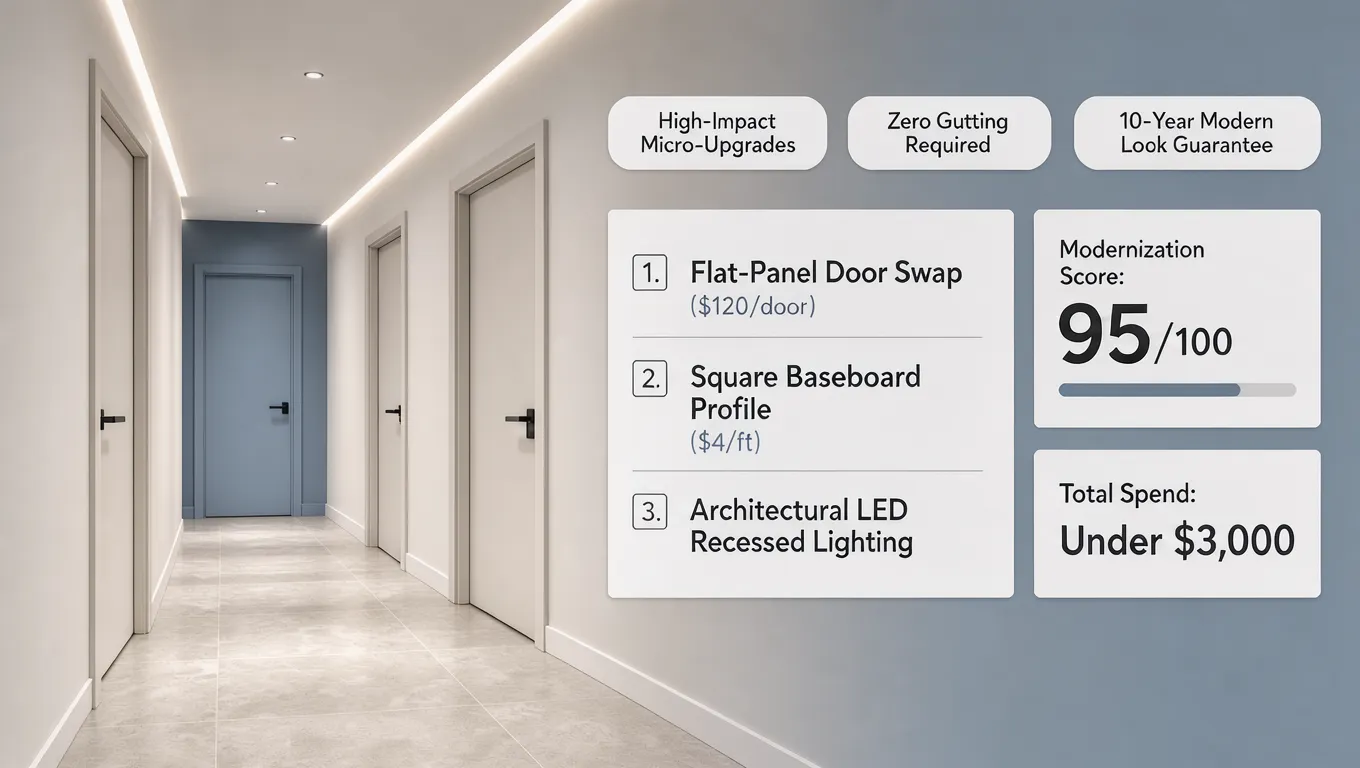
2. Modernize the Parts You Use Every Day Before the Rooms You Rarely Notice
The fastest way to feel the benefits of modern home upgrades for older houses is focusing your budget on high-contact touchpoints—the physical elements you touch, see, and interact with fifty times a day.
Spending $5,000 to transform a guest bedroom that stays closed 90% of the time yields zero daily life impact. Investing that same budget into your entryway, kitchen prep zone, and primary bathroom instantly elevates your daily routine.
[ Tier 1: Daily High-Contact Touchpoints ] ===> Front Door Entry, Kitchen Faucet, Light Switches
                                               (Transform First for Maximum Life Impact)

[ Tier 2: Secondary Active Zones        ] ===> Primary Bathroom, Living Lounge, Dining Setup
                                               (Transform Second for Daily Comfort)

[ Tier 3: Low-Traffic Utility Zones     ] ===> Guest Bedrooms, Basement Storage, Formal Parlors
                                               (Transform Last)
Prioritize these high-impact daily touchpoints:
- Entryway Drop Zones: Install a slender console table, wall-mounted coat hooks, and an entryway bench so shoes and bags don't clutter main walking paths.
- Kitchen Work Triangle: Swap out stiff 1990s faucets for modern pull-down gooseneck sprayers, and install under-cabinet LED task lighting.
- Physical Hardware: Replace old, discolored plastic light switches with clean, flat-panel Decora switches, and swap loose door knobs for modern lever handles.
3. Bring an Older Home Up to Today's Comfort Expectations
Older homes were built for a completely different era of daily technology and domestic life. They often feature a single electrical outlet per room, inadequate overhead lighting, drafts near windows, and zero built-in closet organization.
Bringing your space up to modern comfort standards doesn't mean destroying its soul—it means removing everyday annoyance.
[ Single Overhead Ceiling Box ]
[ Single Closet Hanging Rod ]
[ Dimmable Layered LED Lighting ]
[ Modular Adjustable Shelving Systems ]
Target these essential comfort updates:
- Upgrade Power Access: Replace standard wall outlets with units featuring integrated USB and USB-C charging ports beside kitchen counters, home desks, and bedside tables.
- Add Layered Task Lighting: Eliminate dark shadows by placing warm table lamps on sideboards and floor lamps next to primary seating groups.
- Install Modular Closet Organizers: Swap single wooden closet rods for adjustable modular shelving systems that double your vertical storage capacity.
If you are planning to modernize your main seating layout alongside hardware updates, read our comprehensive guide on pairing comfortable seating with clear walking paths to balance conversation circles with open traffic flow.
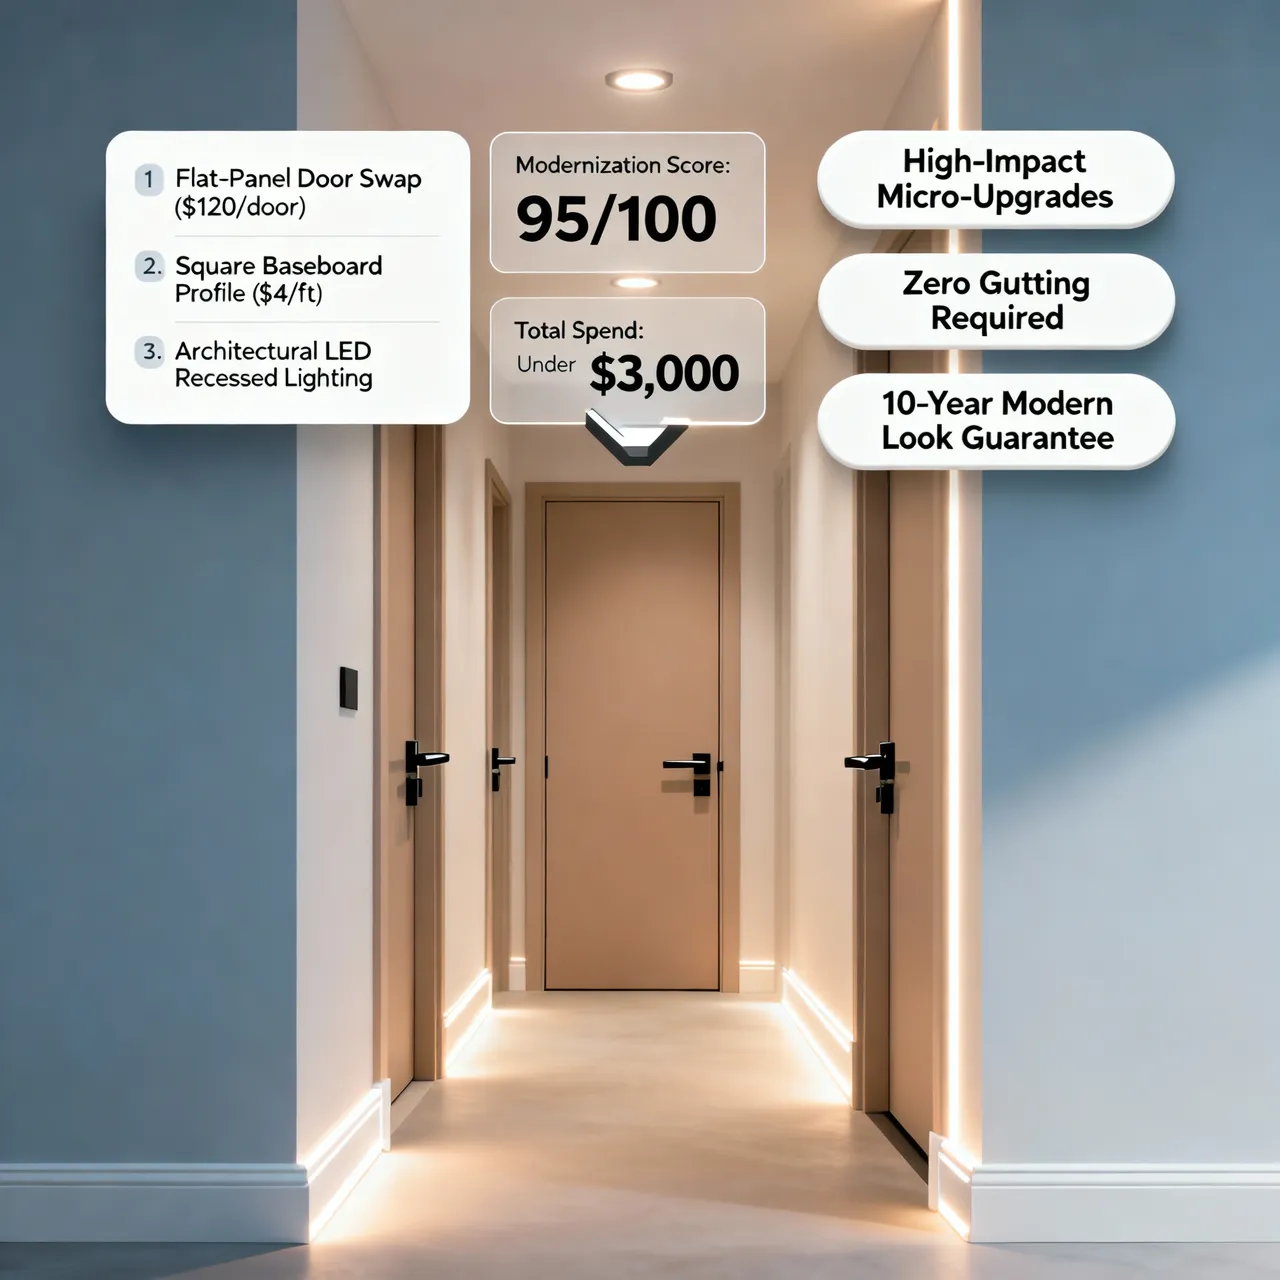
4. Improve Energy Performance Without Replacing Everything
Many homeowners assume that making an older house energy-efficient requires tearing out every window casing and spending $30,000 on complete HVAC replacements.
In reality, simple targeted sealing and smart controls deliver massive comfort improvements and reduce energy waste for a fraction of the cost.
Practical energy retrofits to execute:
- Seal Envelope Air Leaks: Apply high-grade exterior silicone caulk around drafty window frames, and install heavy-duty sweep seals along the bottom of exterior doors.
- Install a Smart Thermostat: Replace manual dials with a smart programmable thermostat (like a Nest or Ecobee) to schedule automated temperature drops while you sleep or work.
- Insulate Attics and Crawl Spaces: Adding blow-in insulation to your attic floor keeps winter heat inside your living spaces without touching interior plaster walls.
5. Make Existing Kitchens and Bathrooms Feel More Current Without Relocating Everything
Kitchen and bathroom renovations are notoriously expensive, but shifting plumbing drain stacks, gas lines, and load-bearing walls accounts for up to 50% of traditional remodeling costs.
If your tub, toilet, and kitchen sink are structurally sound, keep them right where they sit and focus entirely on high-impact surface updates to modernize kitchen without replacing cabinets.
[ Keep Existing Plumbing & Cabinet Boxes ]
                 |
                 +---> Sand & Repaint Cabinet Fronts (Crisp Warm Off-White)
                 +---> Install Matte Black or Brushed Brass Cabinet Pulls
                 +---> Add Ceramic Subway Tile or Peel-and-Stick Backsplash
                 +---> Upgrade to High-Arch Gooseneck Mixer Faucet
                 |
                 v
[ Fresh, High-End Modern Space at 20% of Full Remodel Cost ]
Low-cost kitchen and bathroom modernization tactics:
- Refinish Cabinet Doors: Sand and paint solid wood cabinet boxes. Use a two-tone scheme: light cream for upper cabinets to make ceilings feel taller, and deep charcoal or sage green for lower base units.
- Update Countertops and Sinks: Replace worn laminate counters with affordable prefabricated quartz slabs, and drop in a deep stainless steel or undermount sink.
- Frame or Replace Mirrors: Ditch plain builder-grade bathroom plate mirrors in favor of arched, black-framed vanity mirrors.
6. Decide Which Original Features Deserve to Stay
One of the worst mistakes homeowners make when attempting to modernize an old house is stripping away every historical detail, leaving the interior looking like a soulless, generic box.
Original architectural features—like solid oak hardwood floors, plaster ceiling medallions, masonry fireplaces, and thick solid-wood interior doors—give older homes rich character that money cannot buy today.
- Solid Timber Interior Doors & Trim
- Masonry Brick / Stone Fireplace Mantels
- Custom Built-In Bookcases & Credenzas
- Hollow-Core 1970s Luan Doors
- Yellowed Plastic Light Switches & Plates
- Brass-Framed Glass Shower Enclosures
How to blend old character with modern style:
- Refinish Hardwood Floors: Screen and refinish original oak floors in a soft, natural matte finish rather than heavy, high-gloss dark stains.
- Paint Woodwork Intentionally: If dark stained door trim makes a small room feel claustrophobic, paint baseboards and casings in a crisp, satin-finish neutral while keeping solid wood doors stained.
- Highlight Architectural Built-Ins: Paint the back wall of custom built-in bookcases a contrasting accent shade to display art and ceramic pottery elegantly.

7. Replace, Repair, or Refinish? Choose the Right Treatment for Existing Materials
When evaluating worn materials throughout your house, you don't have to choose between keeping dirty surfaces or throwing everything into a landfill dumpster.
Understanding when to repair, refinish, or replace materials protects your budget and prevents unnecessary waste.
Decision framework:
- Refinish Solid Materials: Solid hardwood floors, cast-iron bathtubs, real wood cabinets, and brass door hardware can almost always be sanded, reglazed, or polished back to life.
- Replace Low-Grade Materials: Hollow-core doors, damaged laminate counters, and stained synthetic carpets should be replaced with durable modern materials.
- Repair Grout and Caulk: Scrubbing discolored grout lines with a grout pen and applying fresh white silicone caulk around sinks instantly makes old tile look brand new.
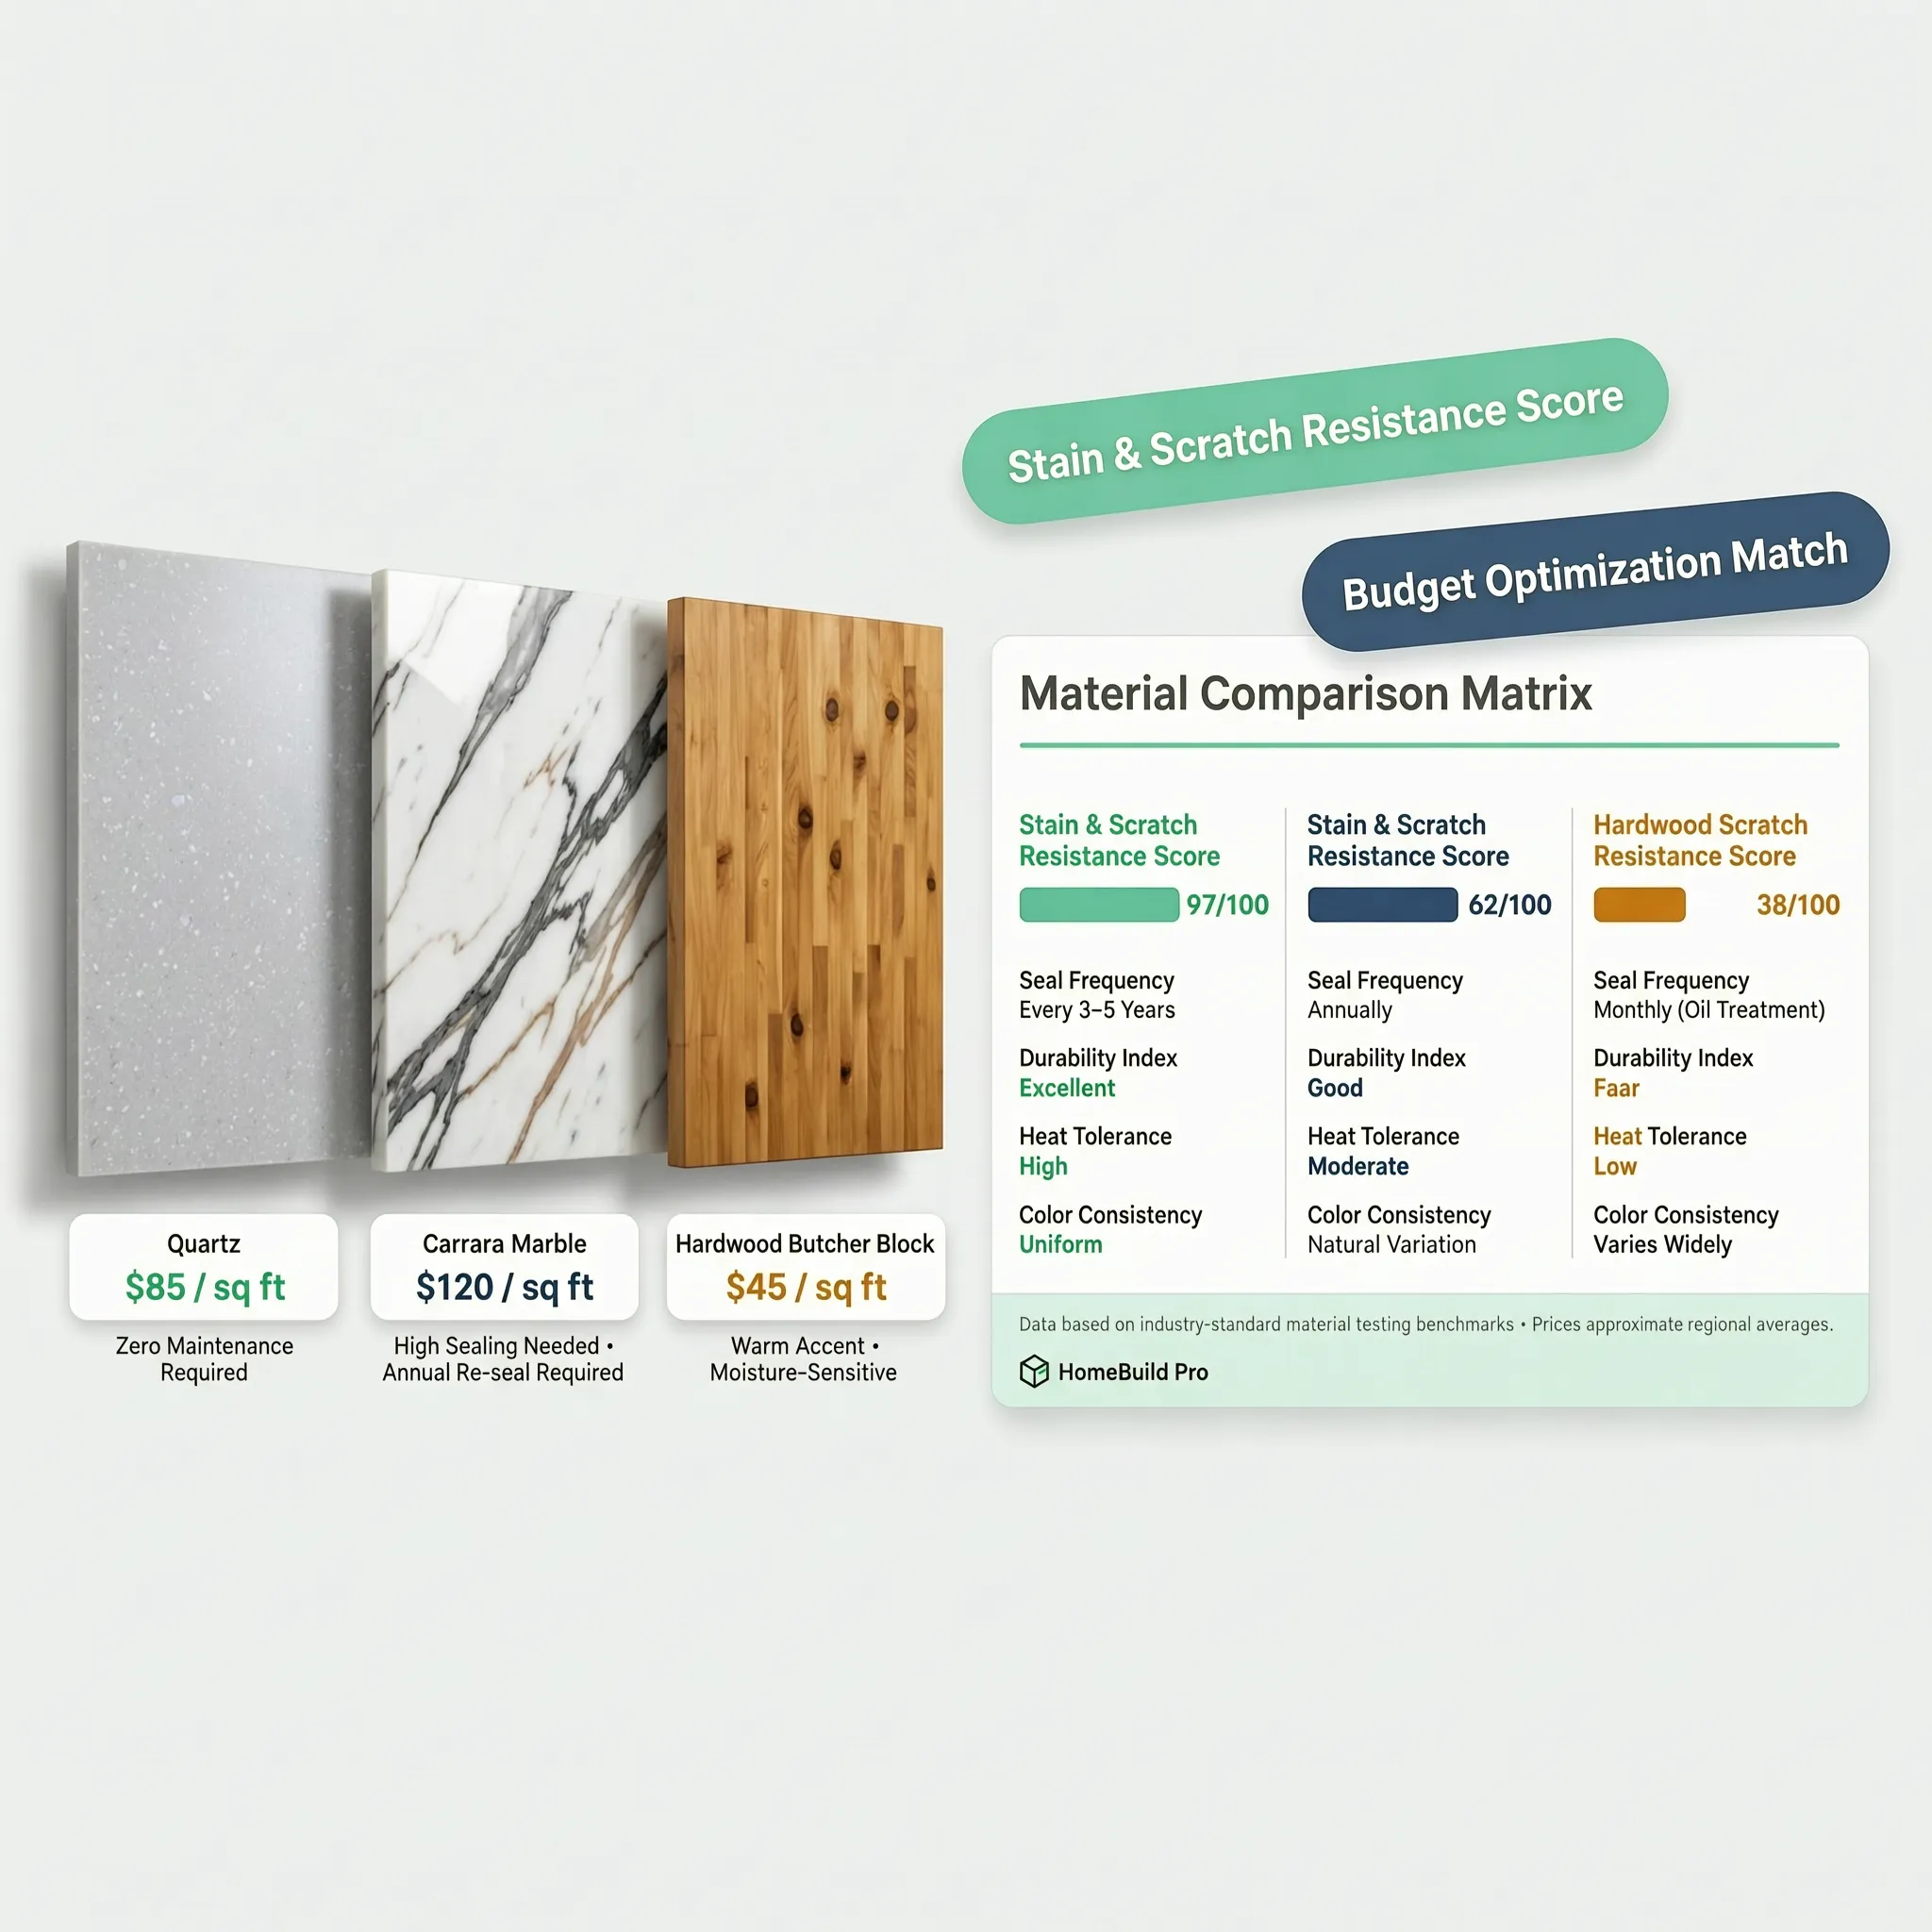
8. Update Storage and Room Function Before Changing the Floor Plan
If your rooms feel cramped and chaotic, your home likely doesn't have a square footage deficit—it has an organization deficit.
Before considering tearing down non-load-bearing walls to open up your layout, optimize your existing vertical wall space and improve storage in an old house.
Smart spatial organization strategies:
- Utilize Lift-Top Storage Furniture: Swap traditional coffee tables for upholstered lift-top storage ottomans to hide extra throw blankets, board games, and remotes.
- Add Floor-to-Ceiling Shelving: Install open wooden shelving or built-in bookcases along unused wall alcoves to pull books and decor off table surfaces.
- Optimize Entryway Hallways: Place a slender shoe cabinet (like an IKEA Trones or Hemnes) against narrow hallway walls to store footwear vertically without blocking walking paths.
If you are organizing an open-concept living area, read our guide on establishing clear functional boundaries across shared floor space to keep connected rooms feeling purposeful.
9. Make New Upgrades Work With the Parts You Are Keeping
A common design trap when updating an older home room-by-room is creating "the time warp effect"—where a brand-new ultra-modern kitchen looks completely jarring next to an untouched 1920s dining room.
To create a cohesive interior, establish a design connection between your new upgrades and original architectural elements.
Rules for bridging old and new styles:
- Match Wood Tones Across Rooms: If your home features original warm oak trim, choose new dining tables or furniture pieces with warm undertones rather than stark, cold gray woods.
- Use the "Common Thread" Hardware Rule: Select one or two metal finishes (e.g., matte black and brushed brass) and repeat them across light fixtures, cabinet pulls, and door hardware throughout the whole house.
- Repeat Neutral Paint Shades: Use a single, warm off-white or greige wall paint across main hallways and entryways to link adjoining rooms together seamlessly.
If you are picking paint palettes for adjoining spaces, explore our guide on connecting wall colors across connected rooms to avoid undertone clashes.
10. Modernize Your Home in Stages Without Paying to Redo Finished Work
Trying to update your whole home at once without an unlimited budget usually leads to financial exhaustion and half-finished rooms.
When you modernize a home in phases, organizing your work in a strict structural order prevents future construction dust and trade traffic from damaging completed work.
   PHASE 1: Core Systems & Envelope (Roof, Electric, Moisture Control)
                     |
                     v
   PHASE 2: High-Impact Daily Rooms (Kitchen & Primary Bathroom)
                     |
                     v
   PHASE 3: Secondary Living Spaces (Living Room, Bedrooms, Nooks)
                     |
                     v
   PHASE 4: Central Corridors & Trim (Hallways, Staircases, Entry Doors)
Strategic staging rules:
- Tackle Rough Systems First: Complete any electrical rewiring, plumbing updates, or window replacements before painting walls or refinishing floors.
- Work Top-to-Bottom: Renovate upper-floor bedrooms and bathrooms before finishing ground-floor living rooms so workers don't track construction dust over fresh main-level floors.
- Save Entryways and Hallways for Last: Main hallways and entry doors serve as primary construction corridors. Finish them last to avoid scuffing new paint or trim.
For a deeper dive on sequencing your project safely, explore our guide on planning a phased renovation schedule to keep your home livable throughout construction.
11. Set a Spending Limit for Each Upgrade—and Know What Could Change It
Budget creep is the ultimate killer of home updates. It is far too easy to spend your full allocation on marble tiles for a powder room, leaving zero funds left for essential electrical or insulation work.
Establish a strict financial baseline by dividing every project budget into three distinct buckets.
   [ Total Modernization Budget ]
                 |
                 +---> Bucket A: Essential Mechanicals & Safety (40%)
                 +---> Bucket B: Core Utility Finishes & Cabinets (45%)
                 +---> Bucket C: Emergency Contingency Buffer (15%)
Smart budgeting guidelines:
- Maintain a 15% Cash Contingency Buffer: Older homes hide surprises behind plaster walls. Keep 15% of your total budget liquid to handle unexpected plumbing or wiring repairs.
- Compare Quotes with Matching Scopes: When hiring trade contractors, verify that every quote includes exact line items for demolition, disposal, material supply, and final cleanup.
- Prioritize Function Over Fashion: Allocate funds to high-touch quality items—like smooth faucets, washable paint, and quality door handles—before spending on expensive decorative wallpaper or designer accessories.
For broader advice on evaluating contractor estimates and project scopes, review our detailed comparison guide to keep spending on track.
12. Preview the Updated Home Before Ordering Materials
The biggest risk when modernizing an older home is ordering expensive sofa sectionals, paint cans, tile pallets, or cabinet handles on a whim, only to discover they look wrong once installed inside your space.
To avoid costly return fees, trade delays, and buyer's remorse, test your finish combinations and furniture layouts digitally before placing physical orders.
  [ Step 1: Measure Wall Clearance & Room Dimensions ]
                          |
  [ Step 2: Establish Common Material Palette & Finish Rules ]
                          |
  [ Step 3: Test Layouts, Furniture & Colors Digital Software ]
                          |
  [ Step 4: Order Physical Paint & Tile Samples ]
                          |
  [ Step 5: Execute Home Updates with Total Confidence ]
Risk-reduction planning order:
- Measure Physical Footprints: Record total wall lengths, window placements, and doorway clearance gaps before shopping.
- Test Paint Samples on Vertical Walls: Paint large 12x12-inch poster board samples and move them across different walls under morning daylight and evening lamps before painting whole rooms.
- Visualize Floor Plans Digitally: Use digital layout planning tools to test sofa sizes, check walking clearances, and preview how paint colors transition across open doorways.
13. Recognize When a Full Renovation May Be the Better Decision
While targeted updates work for 80% of older homes, there are specific situations where attempting partial surface upgrades is akin to putting a bandage on a serious structural issue.
Knowing when to step back and evaluate a broader partial renovation vs full renovation protects your safety and long-term financial equity.
Wiring & plumbing are updated/safe
Minor surface scuffs & dated trim
Good natural daylight access
Active knob-and-tube / galvanized
Severe foundation settling & rot
Total lack of structural insulation
When to consider a broader remodel:
- Failing Core Infrastructure: If your home requires 100% rewiring, complete plumbing drain replacement, and structural framing repair, opening up all walls simultaneously during a full remodel is often more cost-effective than piecemeal repairs.
- Fundamentally Unusable Layout: If your kitchen is completely isolated in a dark corner with zero expansion space, or if getting to your main bathroom requires walking through a bedroom, structural wall changes may be necessary.
- Severe Structural Settlement: If floor joists require sistering, leveling, and foundation underpinning, complete floor tear-outs are required before cosmetic work can begin.
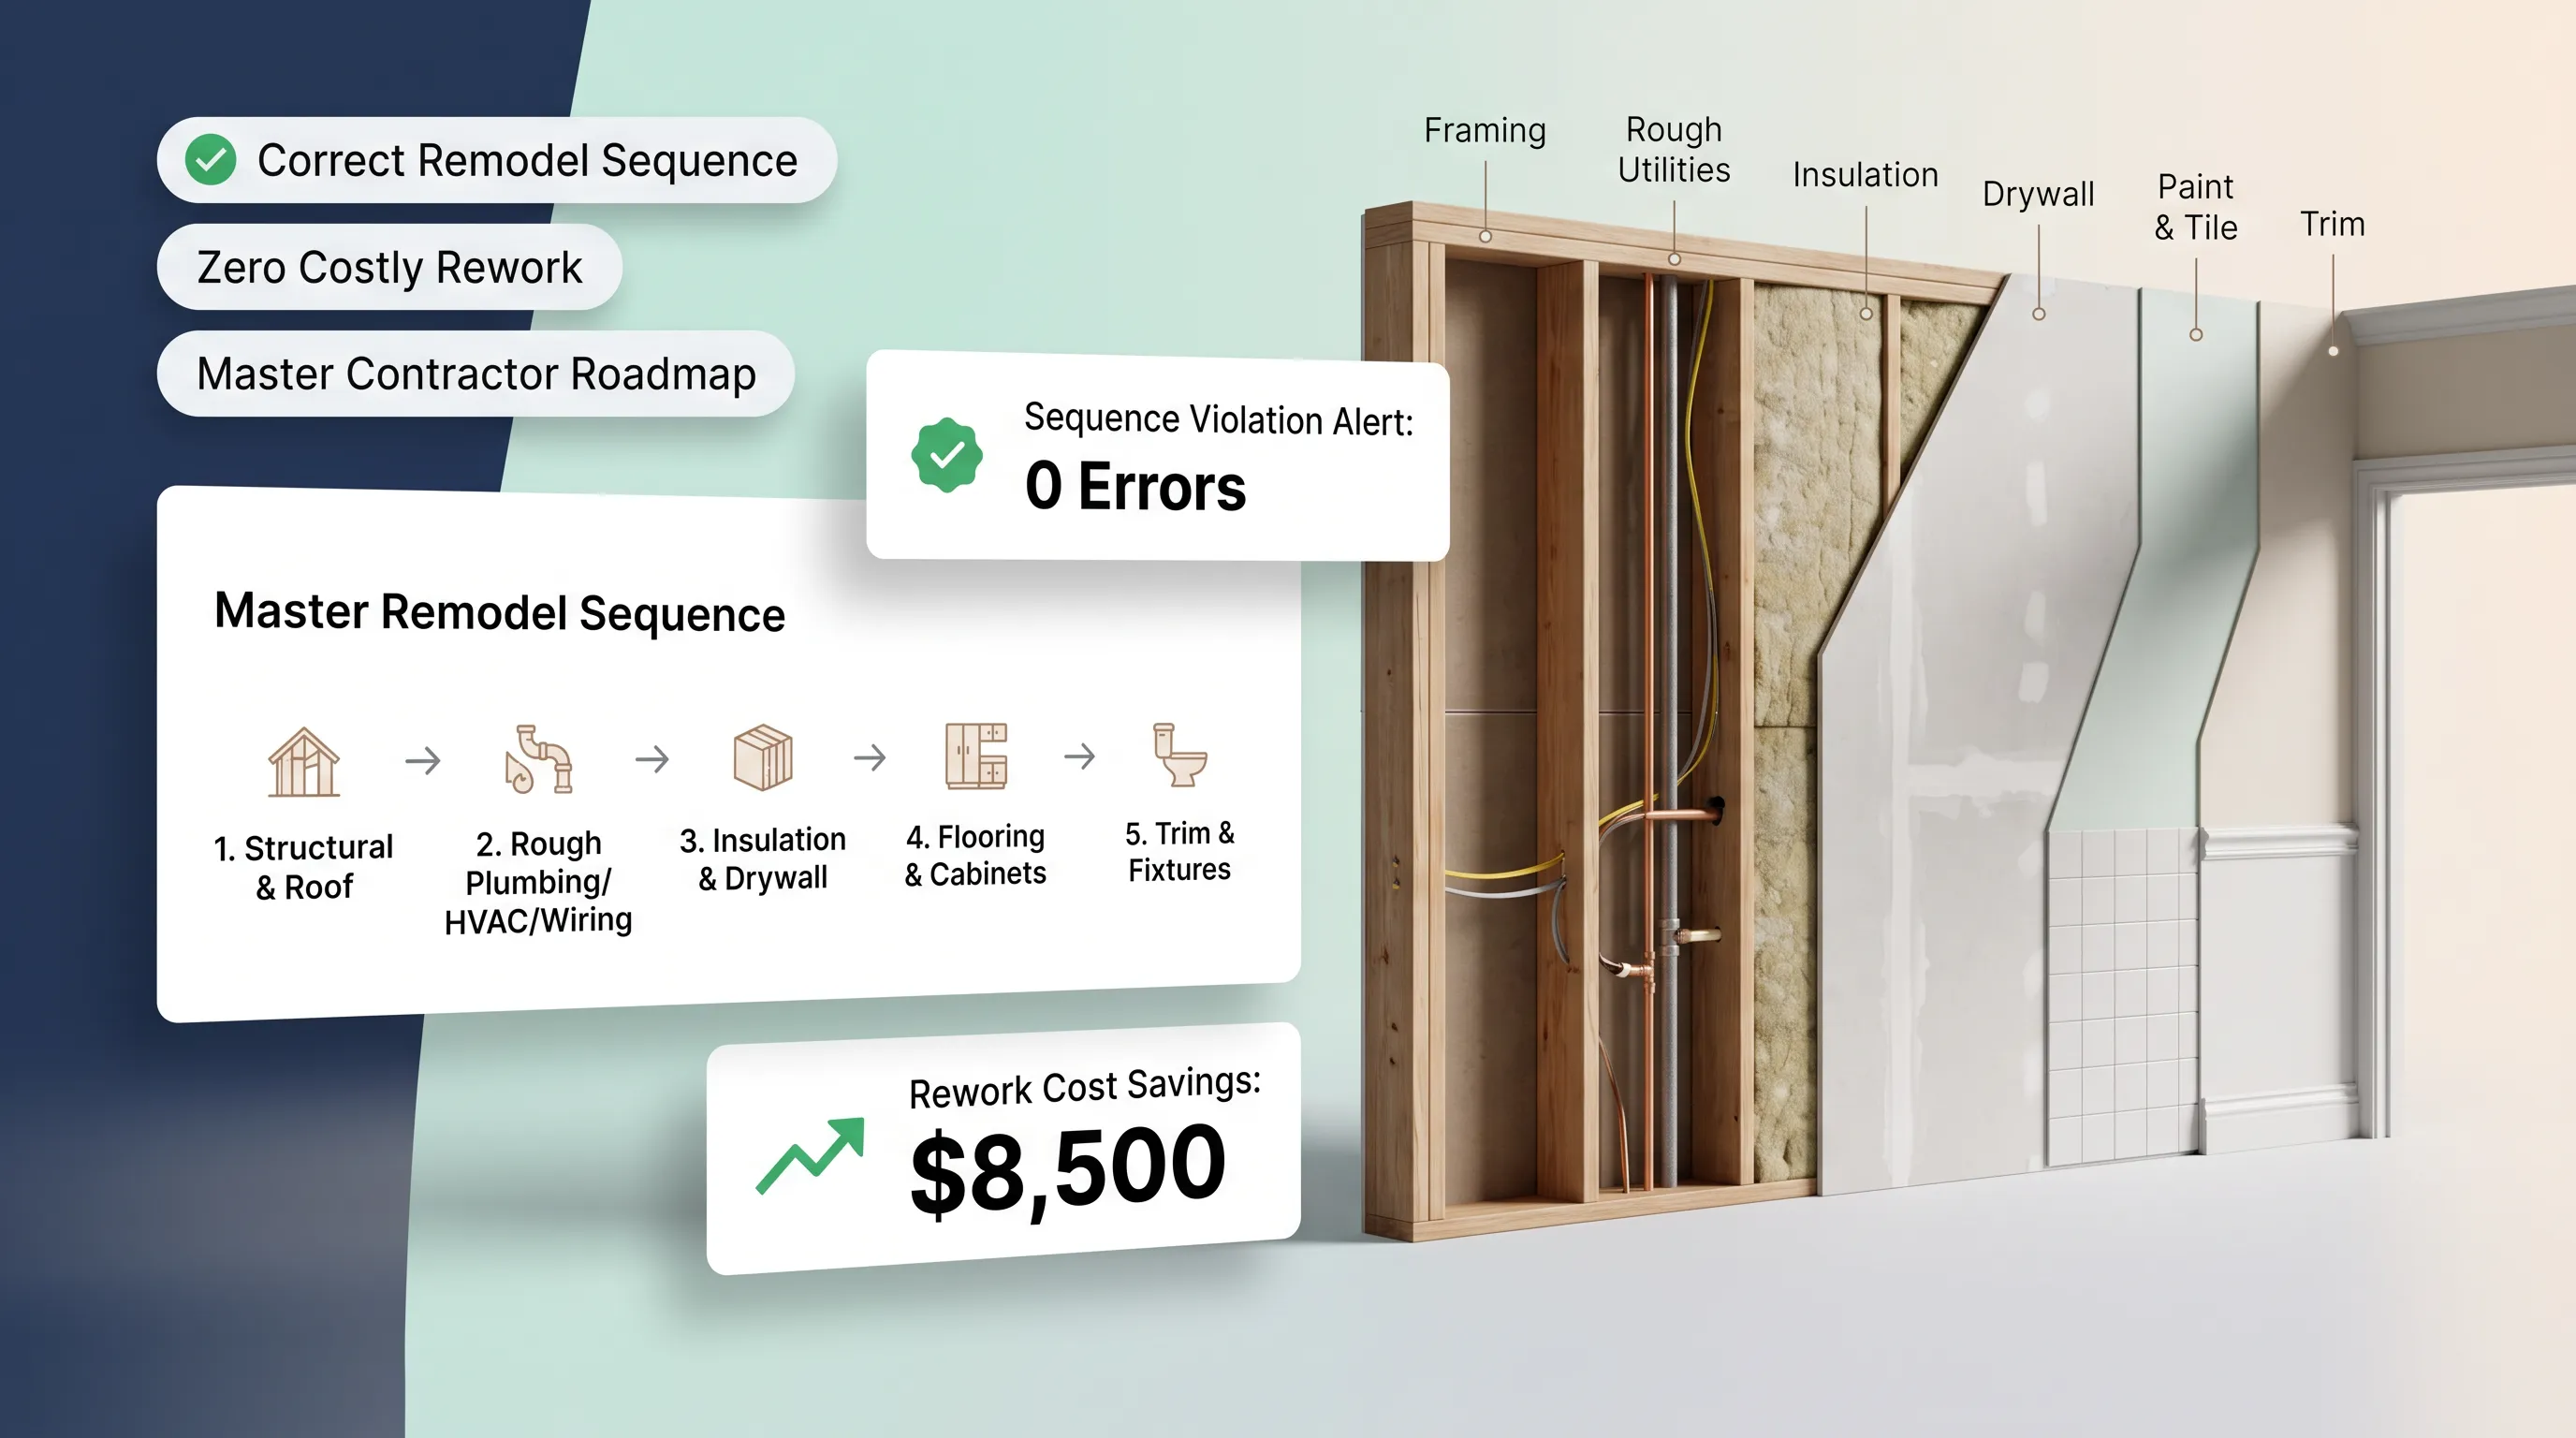
14. Build Your Modernization Plan Around What Matters Most
Ready to transform your home into a fresh, comfortable, and beautiful space without breaking down walls?
Follow this structured planning framework to organize your project and execute your vision step-by-step.
  [ Step 1: Resolve Safety & Moisture Defects ]
                        |
  [ Step 2: Identify Daily Friction Points & Storage Needs ]
                        |
  [ Step 3: Select Universal Hardware & Paint Palette ]
                        |
  [ Step 4: Refresh Cabinets, Lighting & Touchpoints ]
                        |
  [ Step 5: Layer Textiles, Rugs & Warm Eye-Level Lamps ]
The Ultimate Home Modernization Checklist:
1. Safety & Infrastructure Check
Step Into Your Future Home Layout Before Spending a Dollar
What if you could eliminate spatial guesswork, test furniture sectionals, and see exactly how your color palette transitions across your home before spending a single dollar on paint, tile, or contractor deposits?
When you are planning to modernize an older house, trying to picture how new furniture layouts, paint shades, and cabinet finishes will look inside your exact space can feel overwhelming. A single sizing error on paper can turn into a frustrating return or a costly contractor change order.
With DesignHome, you don't need to learn complicated CAD design software or deal with steep technical learning curves. You can simply upload a picture or floor plan of your room to test layout ideas, experiment with floor transitions, compare cabinet finishes, and unlock custom spatial possibilities tailored to your exact floor plan.
Eliminate modernization uncertainty—visualize and refine your dream home vision with total design confidence before you ever take out a paintbrush or contractor checkbook.
External Resources & Industry Standards
To explore deeper technical insights into home space planning, trade safety, and building codes, consult these authoritative industry resources:
- National Association of Home Builders (NAHB) – Official guidelines for home remodeling, trade scheduling, safety standards, and project cost estimating.
- American Society of Interior Designers (ASID) – Professional standards for residential space planning, material selection, and structural layouts.
- International Code Council (ICC) – Residential building codes, electrical permit guidelines, and plumbing installation safety standards.
- Illuminating Engineering Society (IES) – Residential lighting standards, bulb warmth ratings, and task lighting guidelines.
- Paint Quality Institute – Expert advice on wall surface preparation, washable paint sheens, and moisture-resistant finishes.
Frequently Asked Questions About Modernizing an Old House
How can I make an old house feel modern without a full renovation?
Focus on high-touch daily areas: repaint walls in a single cohesive warm off-white, swap out yellowed light switches and dated cabinet hardware for matte black or brass pulls, install under-cabinet LED lighting, replace heavy dark drapes with sheer linen curtains, and add smart entryway storage.
What features should you keep when updating an older home?
Preserve high-value structural character like solid oak hardwood floors, solid wood interior doors, custom built-in bookcases, masonry fireplaces, and plaster crown moldings. Refinish or paint these elements to blend smoothly with contemporary furniture.
How do I update my kitchen without replacing cabinets or moving plumbing?
Sand and paint existing solid wood cabinet fronts (using crisp light neutrals on top and darker shades on bottom), swap handles for modern pulls, install peel-and-stick or ceramic subway tile backsplashes, and replace outdated faucets with high-arch gooseneck mixers.
What is the best paint color to modernize an old, dark house?
Soft off-whites and warm greiges (a blend of gray and beige) work best. These shades reflect natural daylight into dark corners without looking sterile or clinical. Avoid stark unpigmented whites, which can look blue and cold under weak northern daylight.
How do I make my whole house feel connected from room to room?
Establish a whole-house color palette using one primary neutral paint shade for main hallways, repeat identical door handles and light switch plates across all rooms, and stick to a "common thread" palette of two metal finishes (e.g., matte black and brushed brass) and one primary wood tone.
Is it cheaper to modernize a home in phases or all at once?
Phased remodeling allows you to pay cash as you save, avoiding heavy home equity loan interest and eliminating the cost of renting temporary housing. However, full-scale remodels completed all at once can be slightly faster per trade visit if you have significant liquid capital.
How do I fix bad lighting in an old house without tearing into walls?
Layer your lighting across three distinct eye-level tiers: place warm table lamps (2700K LED bulbs) on sideboards, position arc floor lamps beside seating groups, stick battery-operated or plug-in LED light strips under kitchen upper cabinets, and replace single central ceiling fixtures with flush-mount drum lights.


